


1974 Malibu project timeline
G3GM :: Media :: G3 Project Pictures
Page 1 of 3 • 1, 2, 3 ![]()

1974 Malibu project timeline
![]() by bitterfitter Tue Mar 29, 2016 10:55 am
by bitterfitter Tue Mar 29, 2016 10:55 am
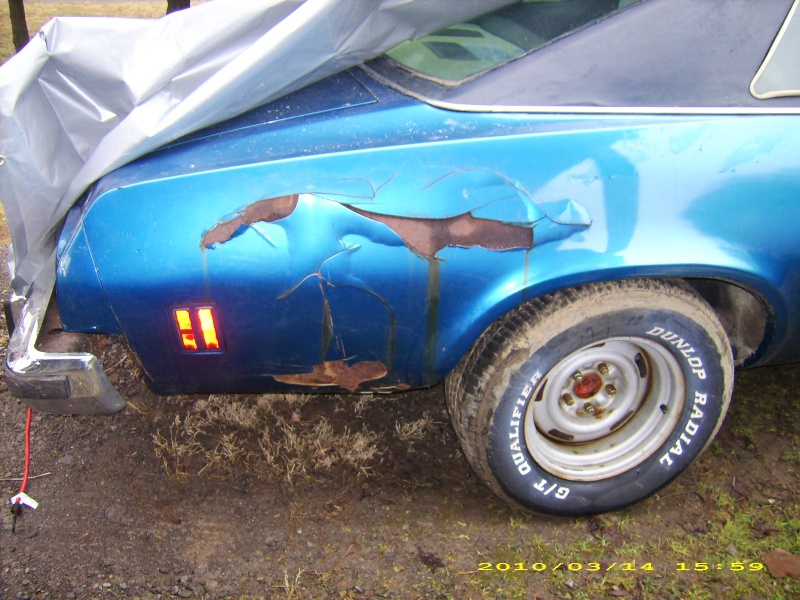
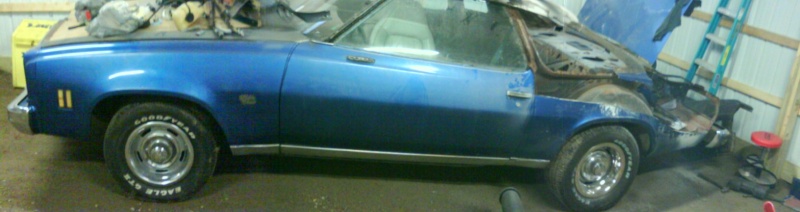
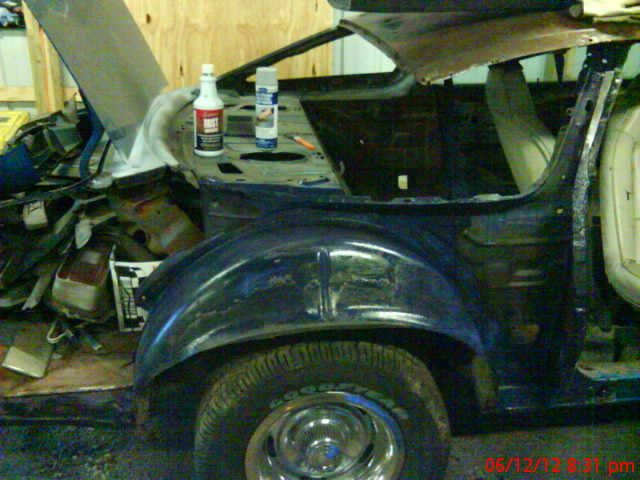
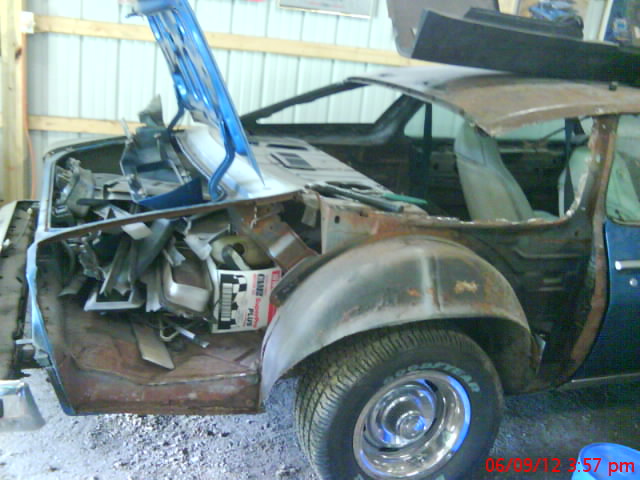
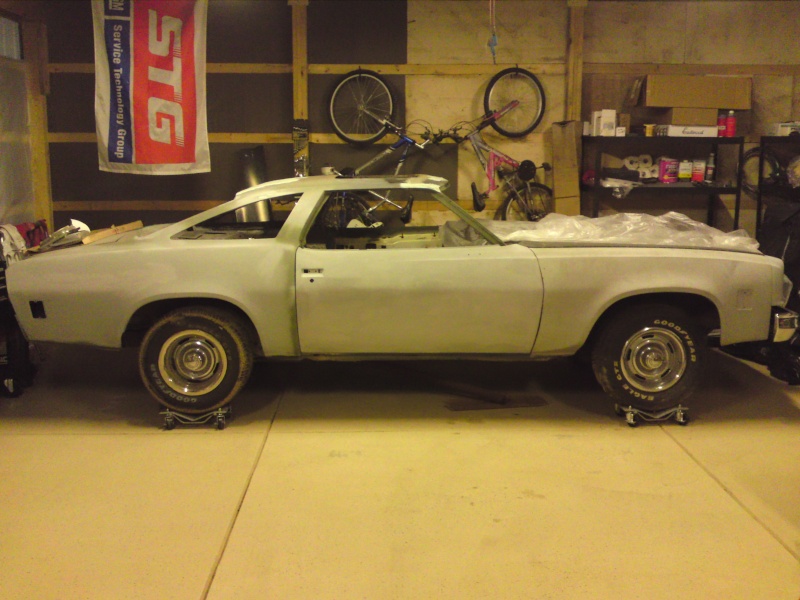
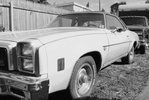
Here is my cars story from what I can tell: I believe the car to be an early built 1974 Malibu Classic that originally came from Colorado. The dealer sticker is still inside the glove box.
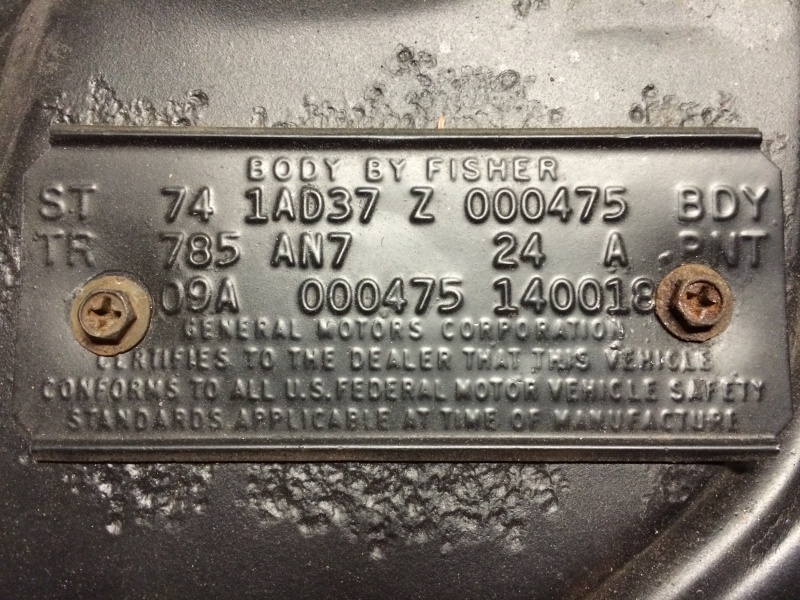
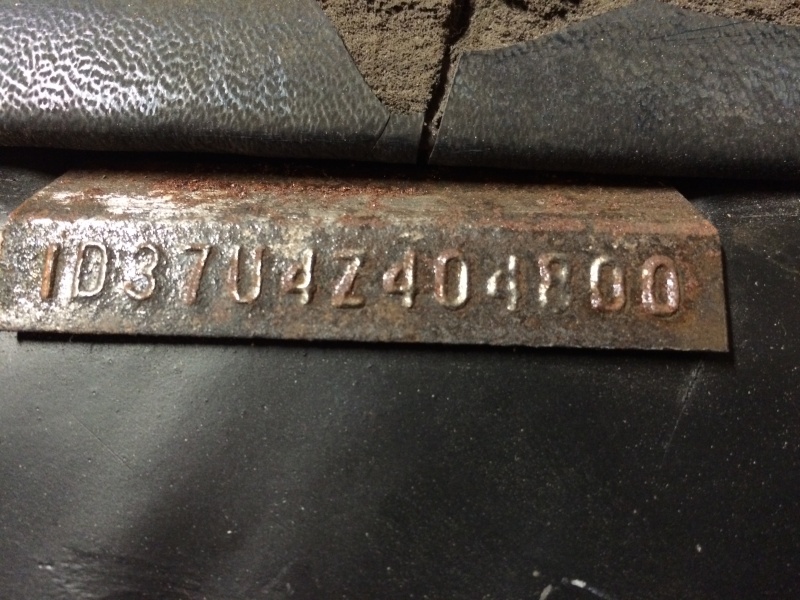
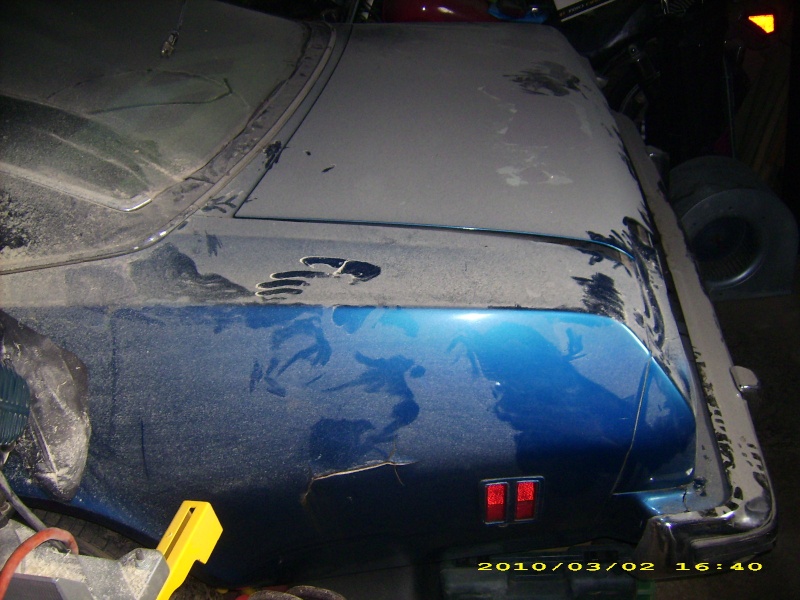
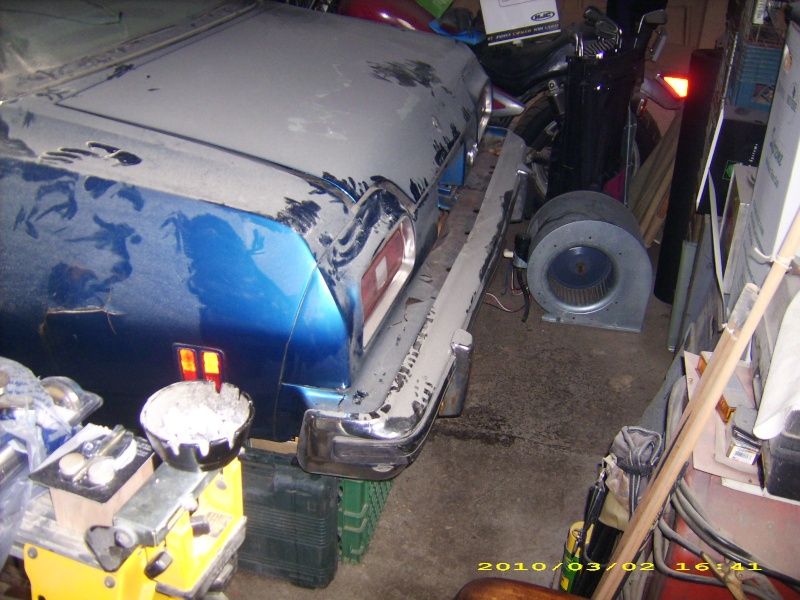
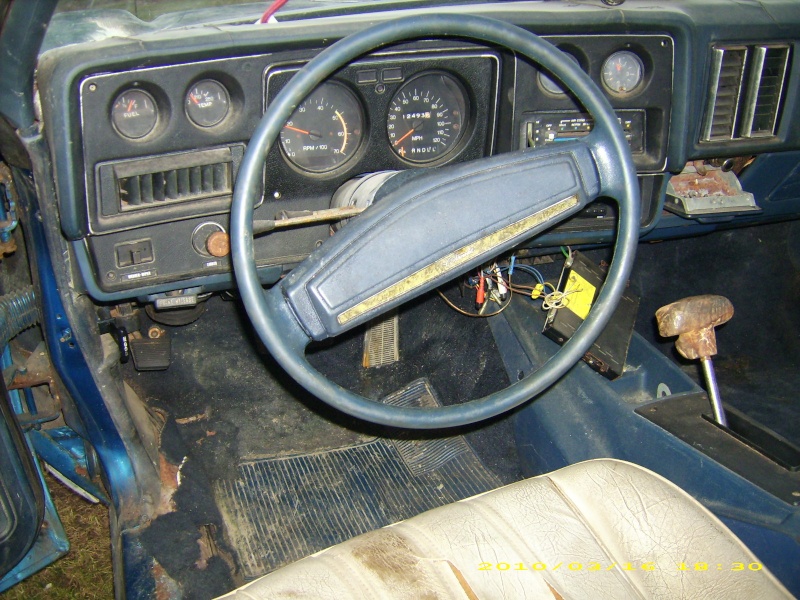
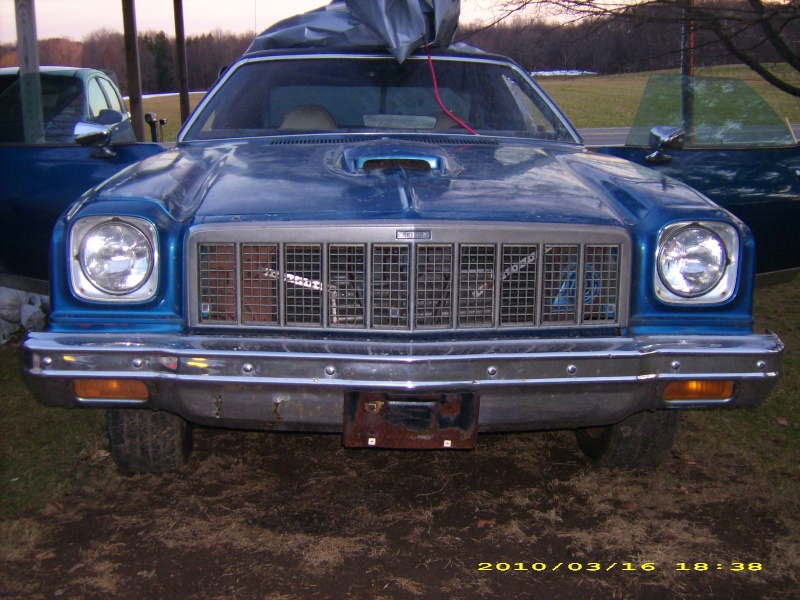
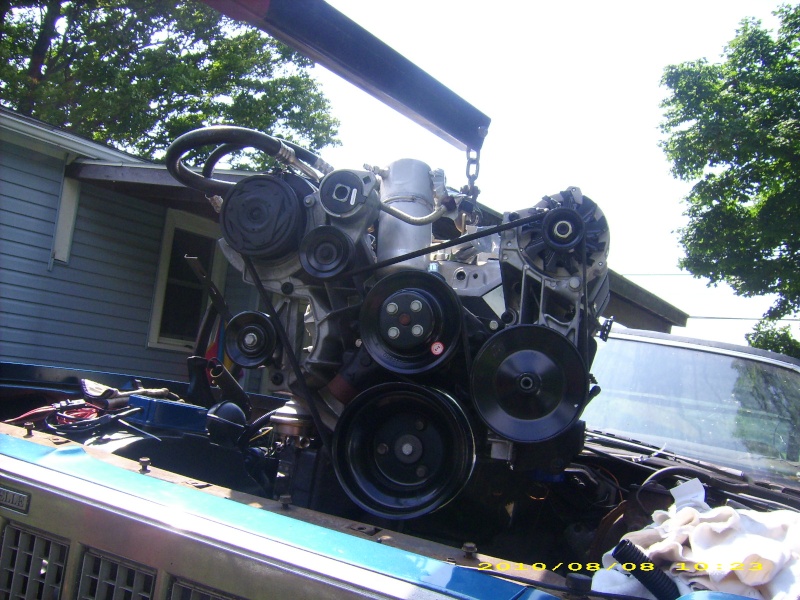
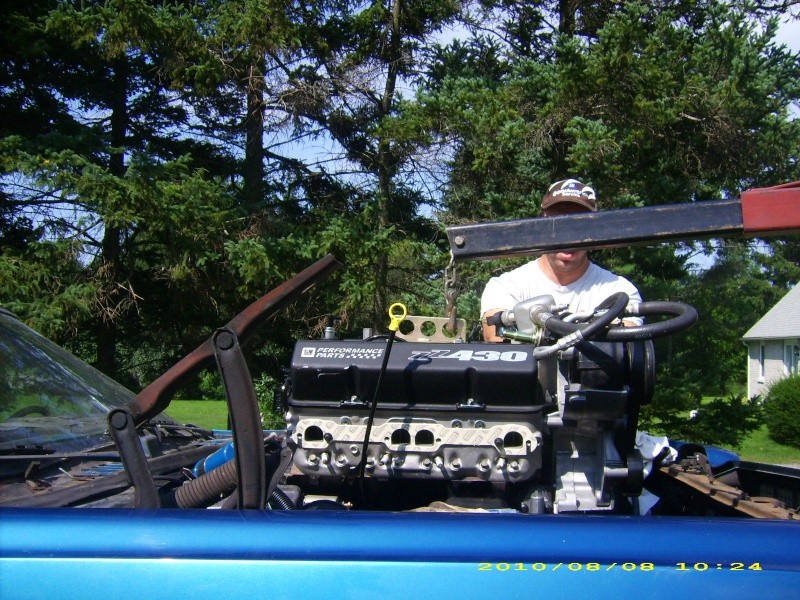
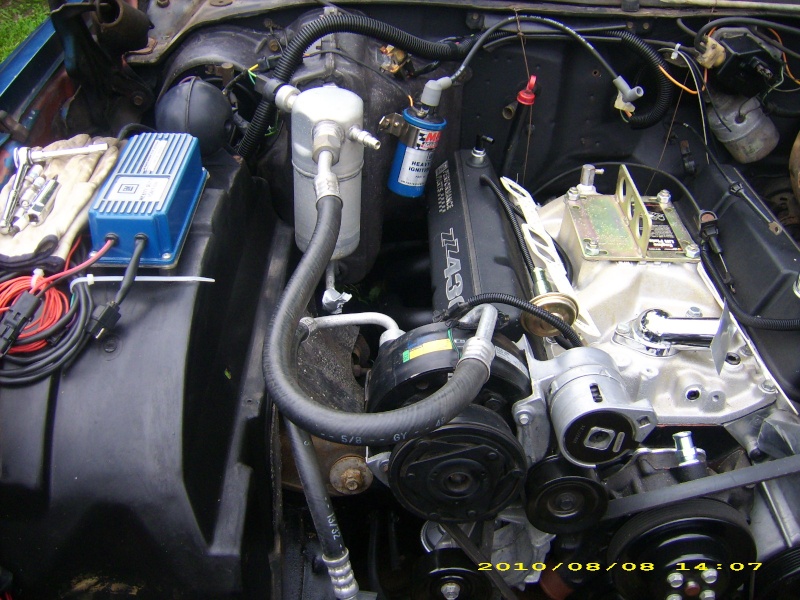
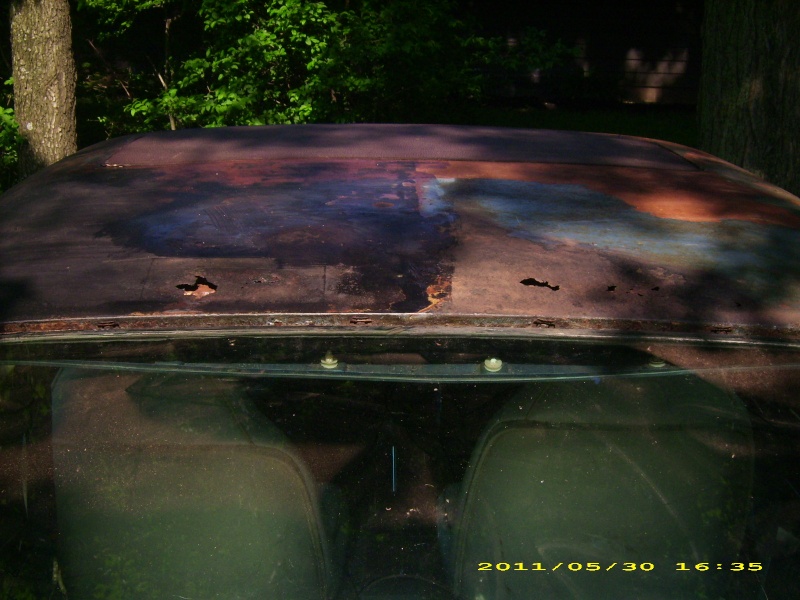
I found the car locally here in Buffalo, NY on Craigslist after a tip from my brother. At the time I was working on bringing a 1973 Chevelle back to life. When I went to look at this car, the guy wanted to keep the motor as it was from a "corvette". that was music to my ears as I had a ZZ430 sitting on a stand at home that was slatted for my '73. I bought this car for around $1000.Here is what it looked like in the persons garage as I looked at it.

bitterfitter- Donating Member

- Street Cred : 9
Re: 1974 Malibu project timeline
![]() by bitterfitter Tue Mar 29, 2016 11:19 am
by bitterfitter Tue Mar 29, 2016 11:19 am
bitterfitter- Donating Member
- Street Cred : 9
Re: 1974 Malibu project timeline
![]() by bitterfitter Tue Mar 29, 2016 11:28 am
by bitterfitter Tue Mar 29, 2016 11:28 am


bitterfitter- Donating Member
- Street Cred : 9
Re: 1974 Malibu project timeline
![]() by bitterfitter Tue Mar 29, 2016 11:35 am
by bitterfitter Tue Mar 29, 2016 11:35 am
bitterfitter- Donating Member
- Street Cred : 9
Re: 1974 Malibu project timeline
![]() by bitterfitter Tue Mar 29, 2016 11:42 am
by bitterfitter Tue Mar 29, 2016 11:42 am
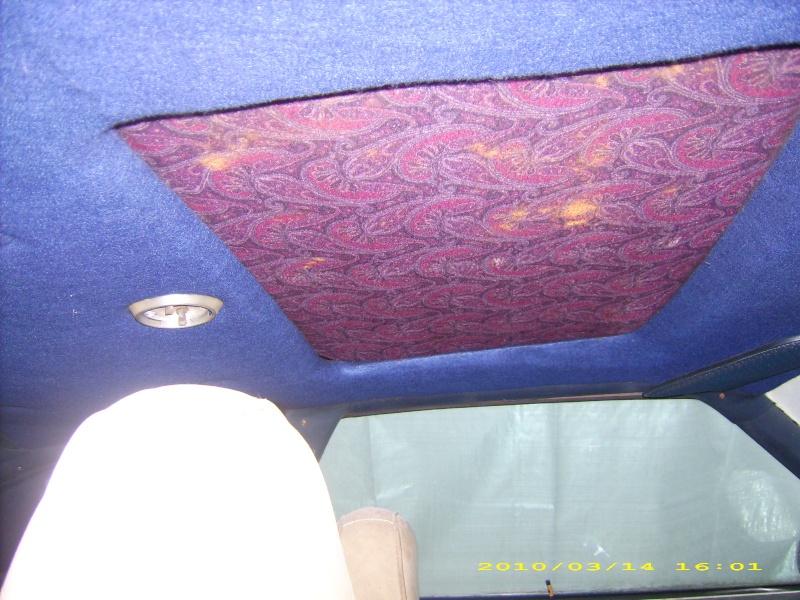
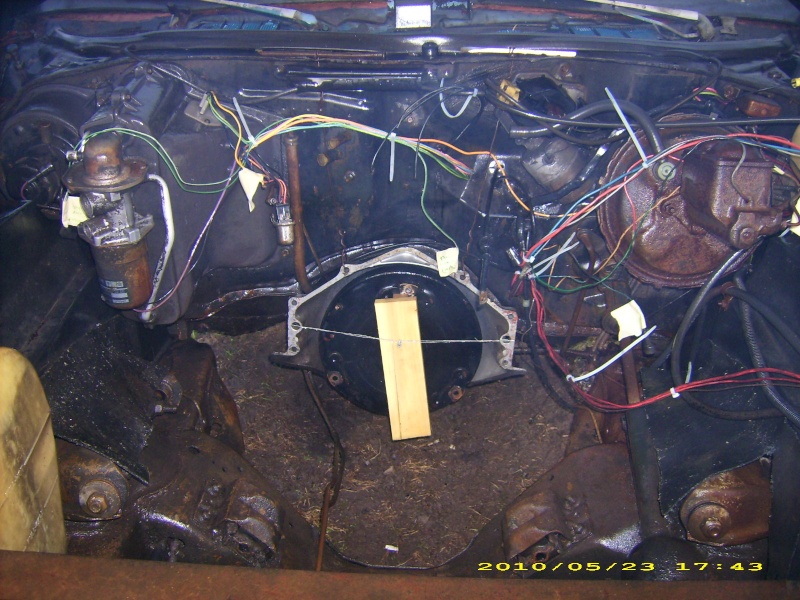
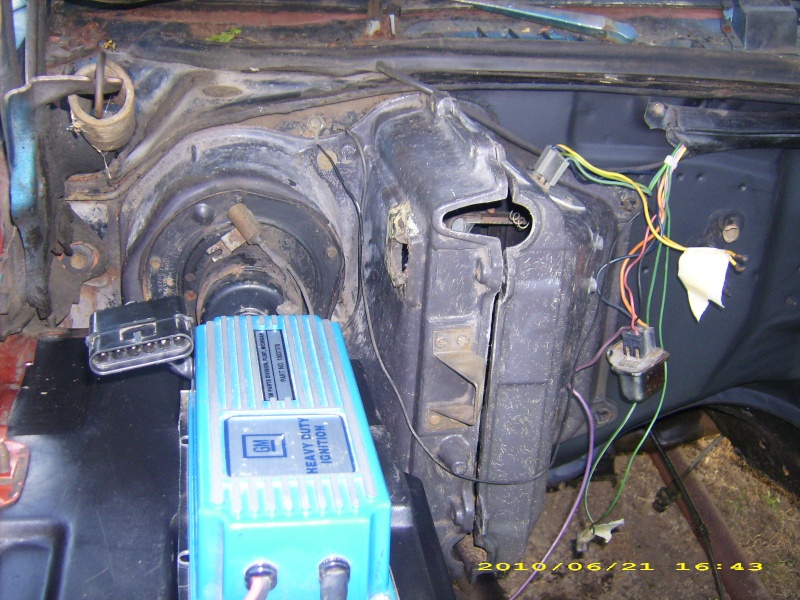
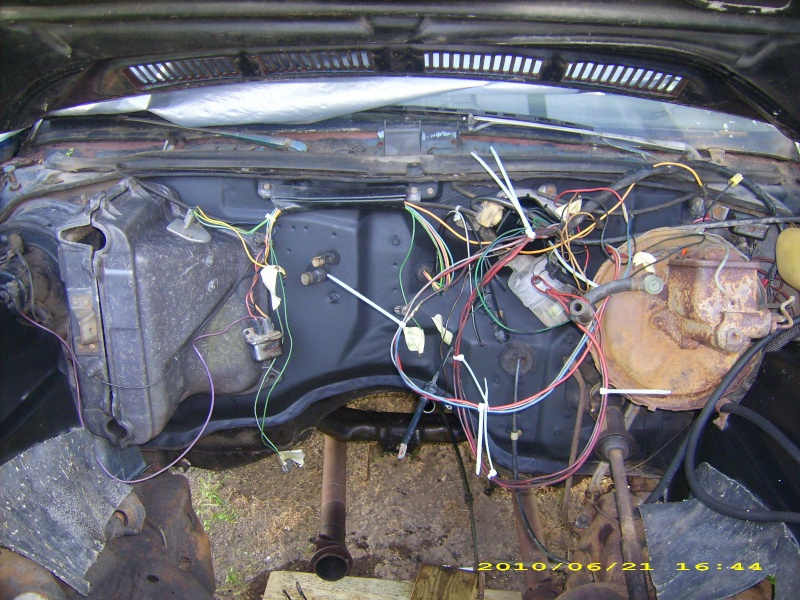
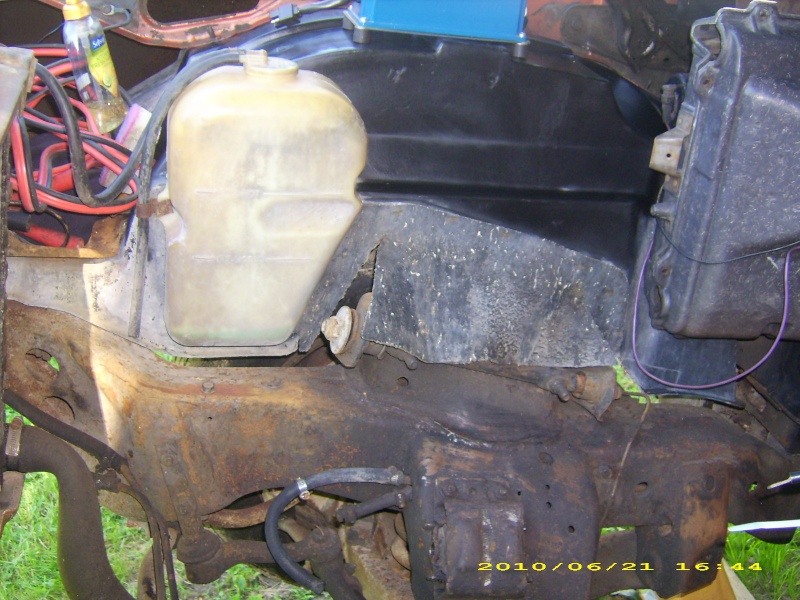
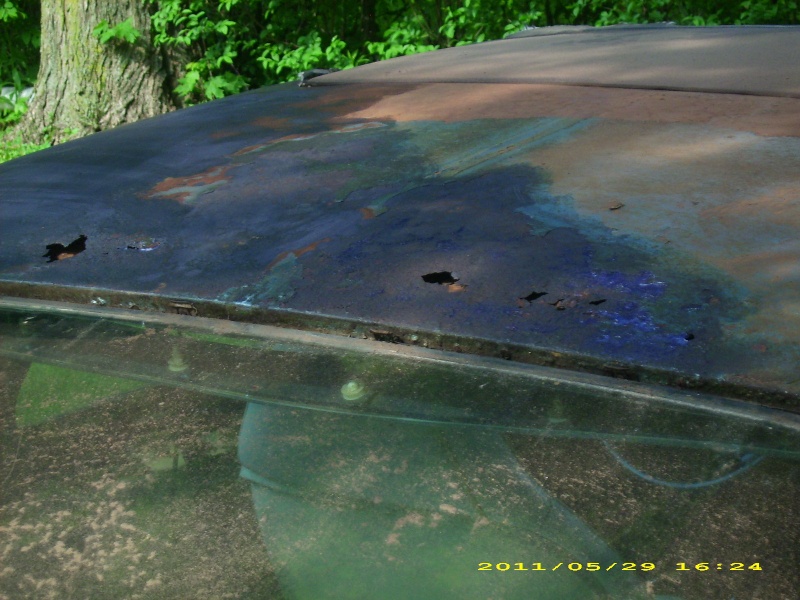
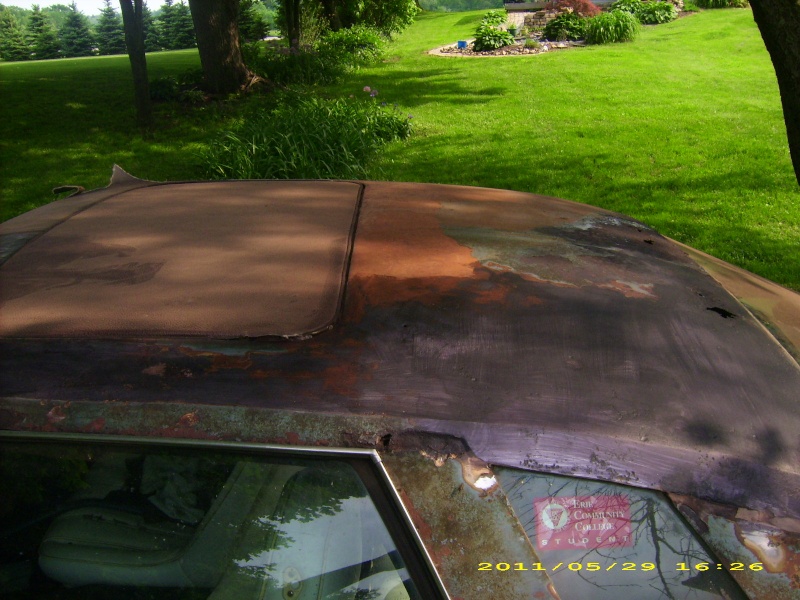
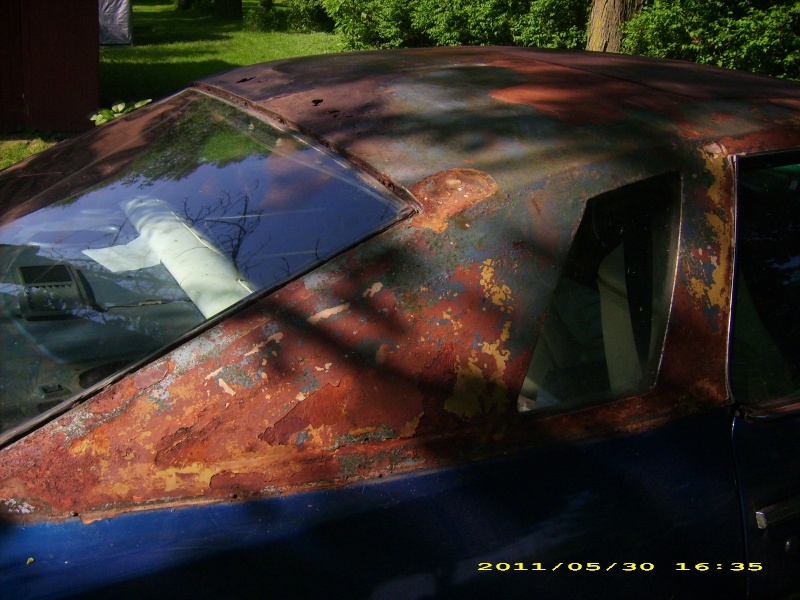
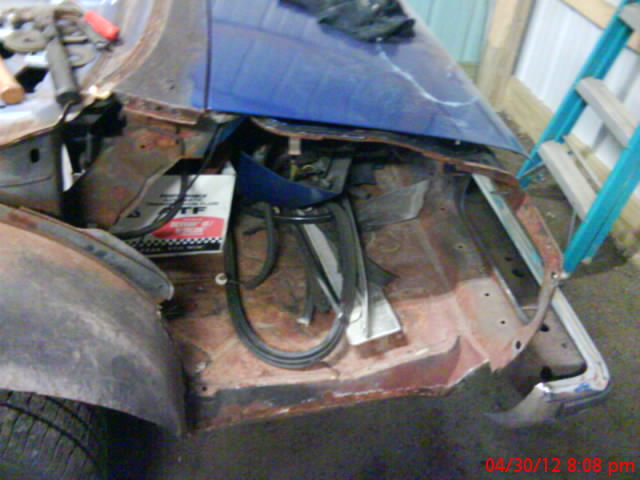
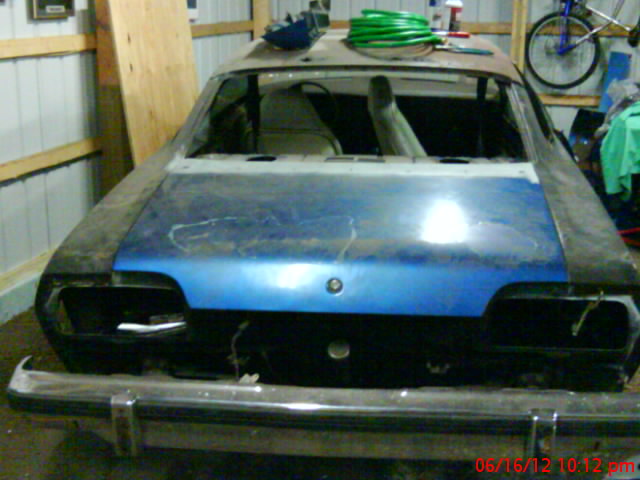
She basically sat for the next 9 months until I removed the vinyl top to see what I was in for:


bitterfitter- Donating Member
- Street Cred : 9
Re: 1974 Malibu project timeline
![]() by bitterfitter Tue Mar 29, 2016 11:56 am
by bitterfitter Tue Mar 29, 2016 11:56 am


bitterfitter- Donating Member
- Street Cred : 9
Re: 1974 Malibu project timeline
![]() by thatfnthing Tue Mar 29, 2016 12:46 pm
by thatfnthing Tue Mar 29, 2016 12:46 pm

thatfnthing- Donating Member
- Street Cred : 65
Re: 1974 Malibu project timeline
![]() by bitterfitter Tue Mar 29, 2016 1:26 pm
by bitterfitter Tue Mar 29, 2016 1:26 pm
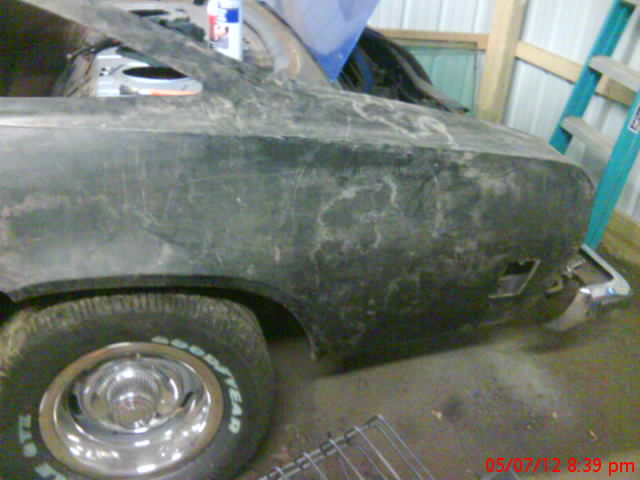
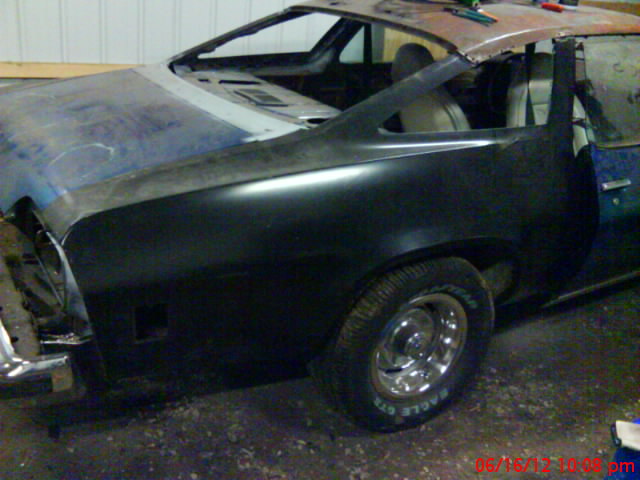

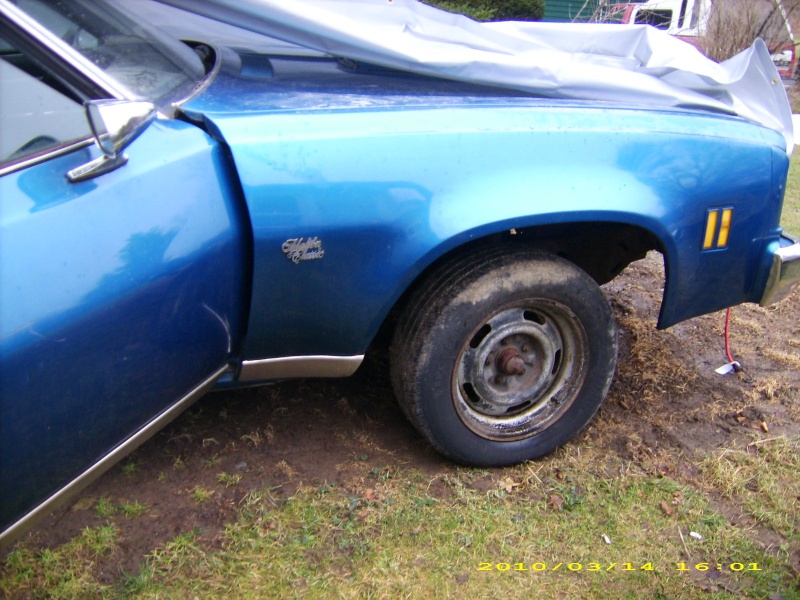
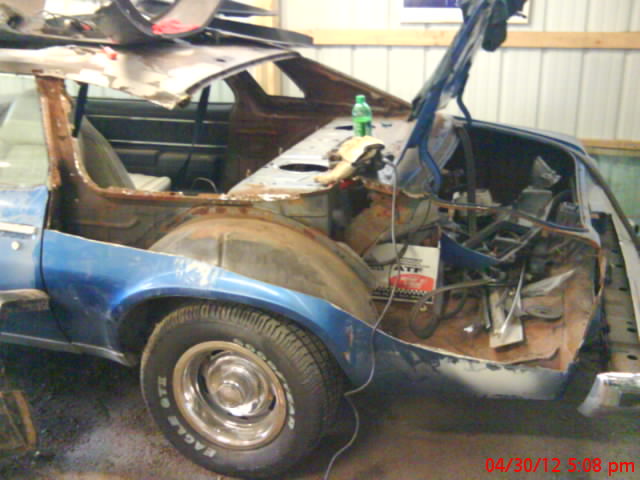
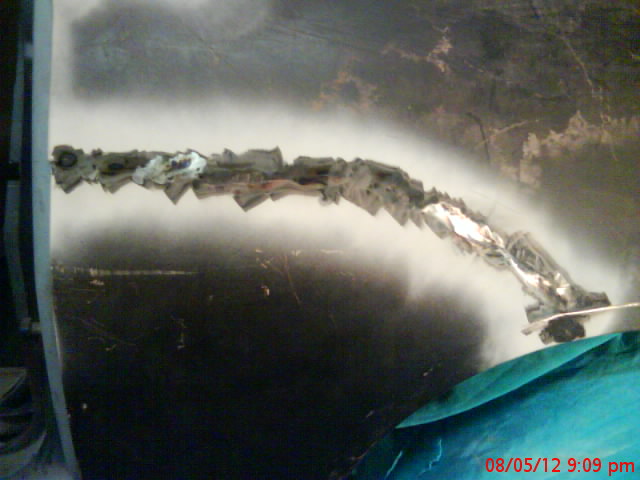
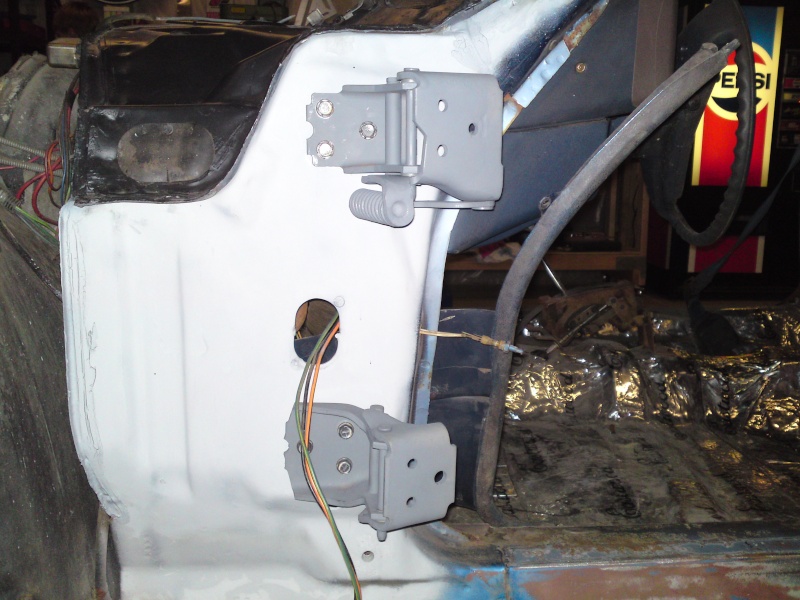
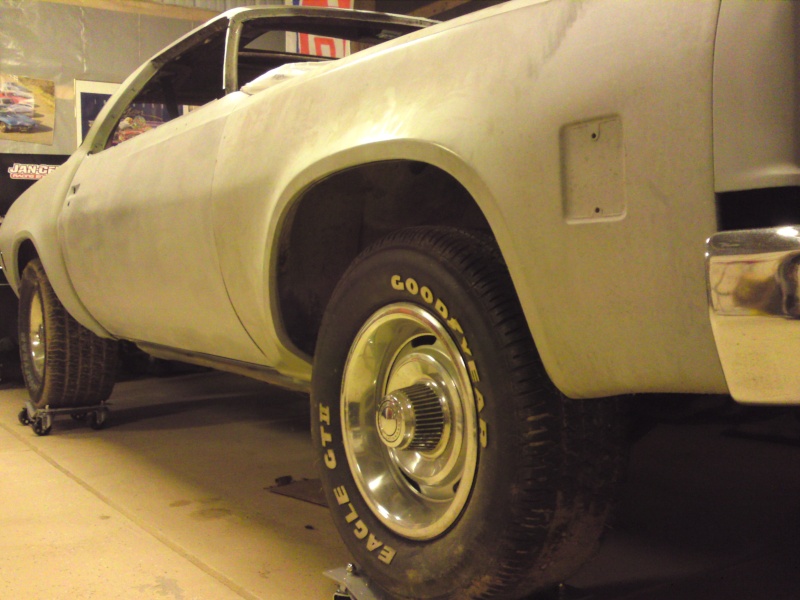
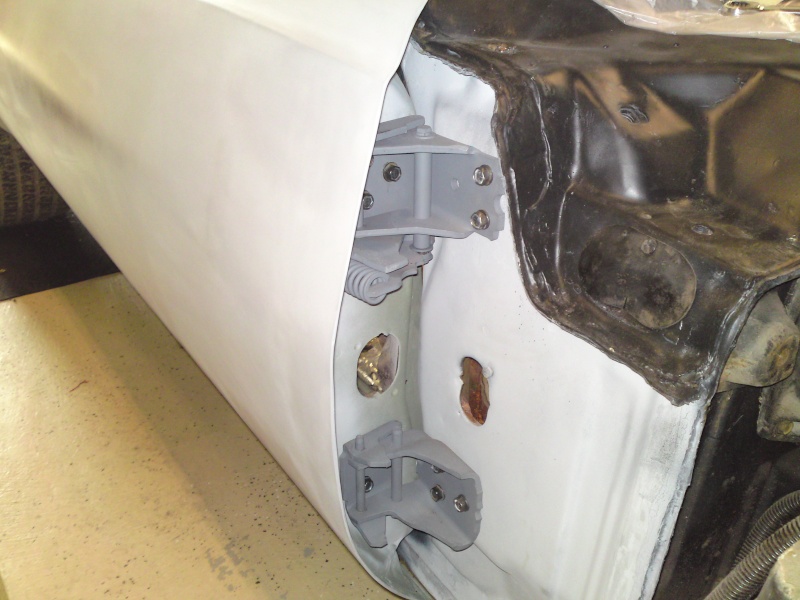
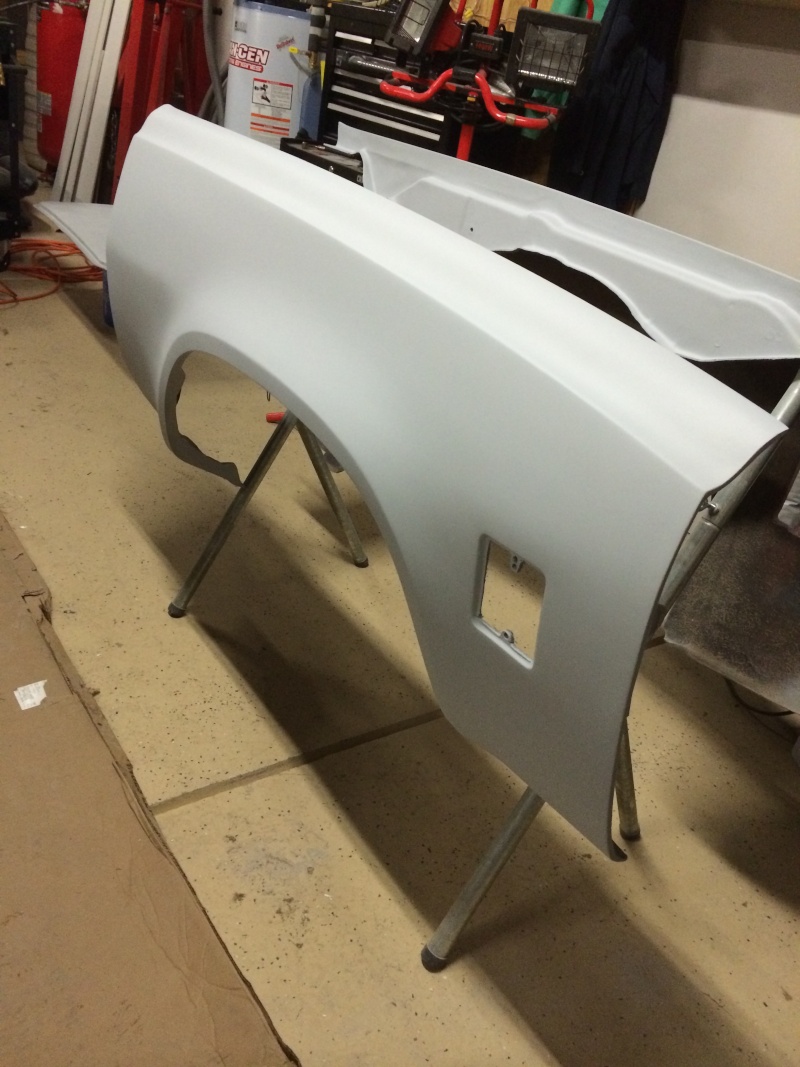
At this point, she was wearing 2 NOS GM full quarter panels
bitterfitter- Donating Member
- Street Cred : 9
Re: 1974 Malibu project timeline
![]() by bitterfitter Tue Mar 29, 2016 1:30 pm
by bitterfitter Tue Mar 29, 2016 1:30 pm

bitterfitter- Donating Member
- Street Cred : 9
Re: 1974 Malibu project timeline
![]() by bitterfitter Tue Mar 29, 2016 2:01 pm
by bitterfitter Tue Mar 29, 2016 2:01 pm


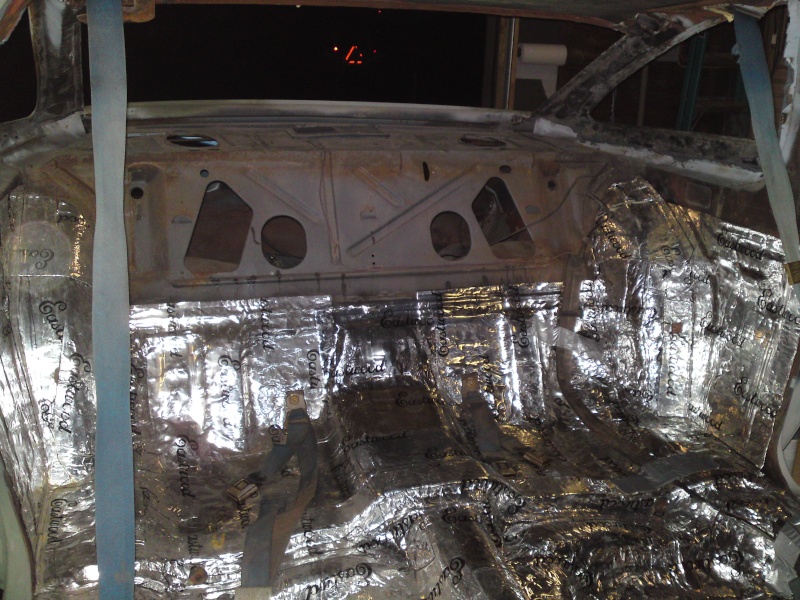
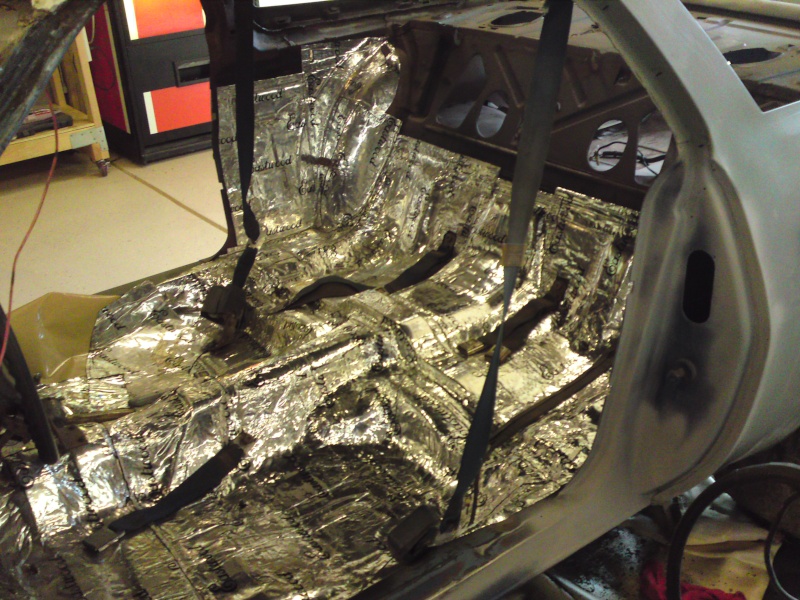
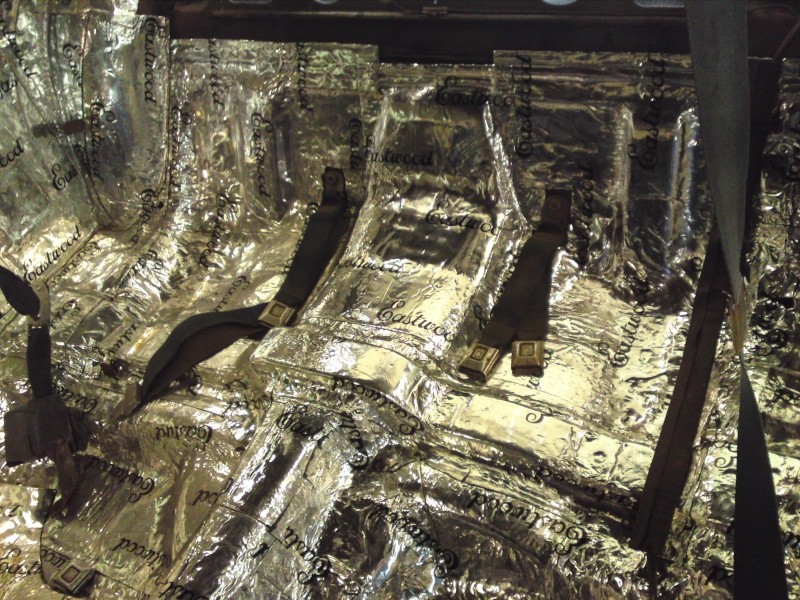
Also if you didn't notice, I had my garage floor poured after I laid hot water tubing and insulation. I then epoxy coated the entire thing. Much nicer!!
bitterfitter- Donating Member
- Street Cred : 9
Re: 1974 Malibu project timeline
![]() by bitterfitter Tue Mar 29, 2016 2:11 pm
by bitterfitter Tue Mar 29, 2016 2:11 pm
bitterfitter- Donating Member
- Street Cred : 9
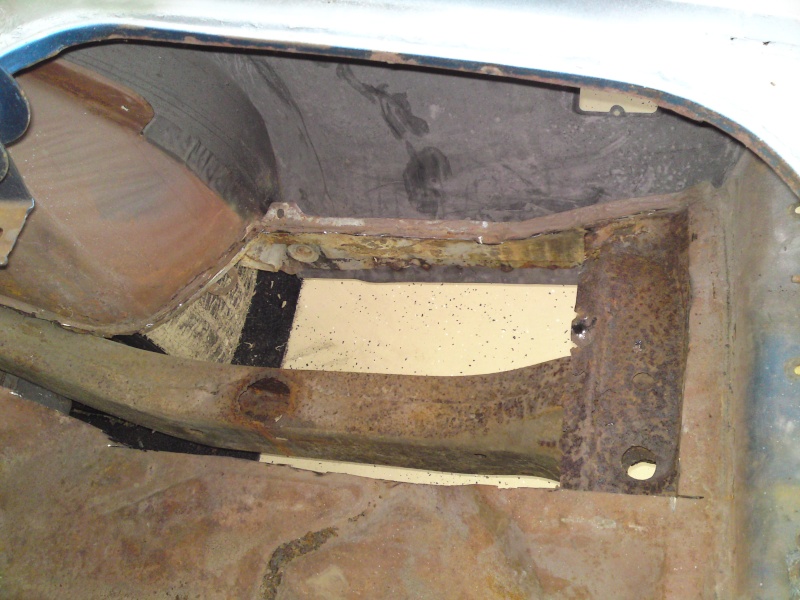
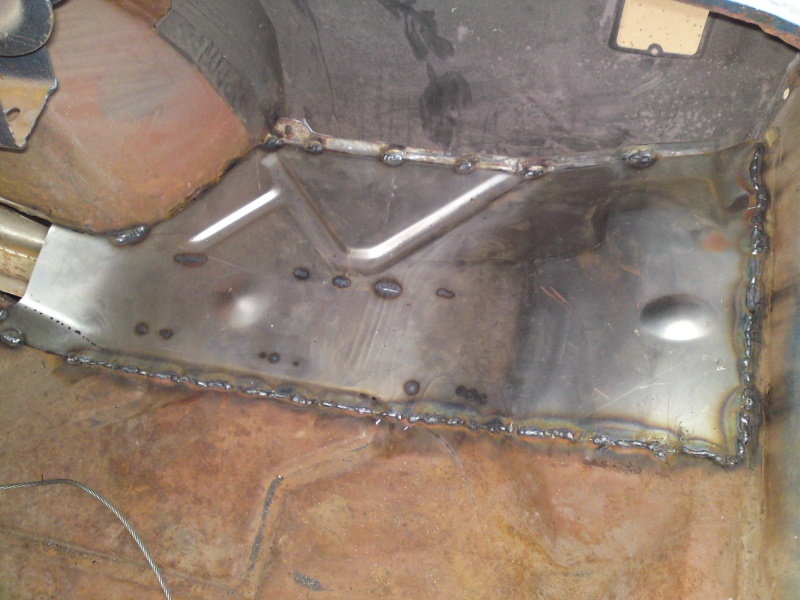
Re: 1974 Malibu project timeline
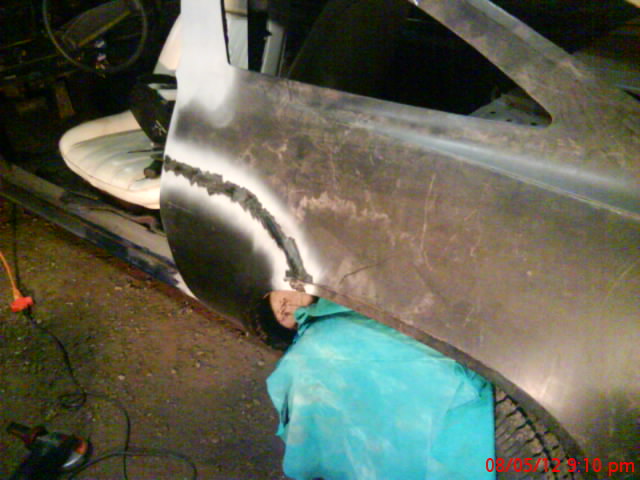
![]() by bitterfitter Tue Mar 29, 2016 2:32 pm
by bitterfitter Tue Mar 29, 2016 2:32 pm

 [/url
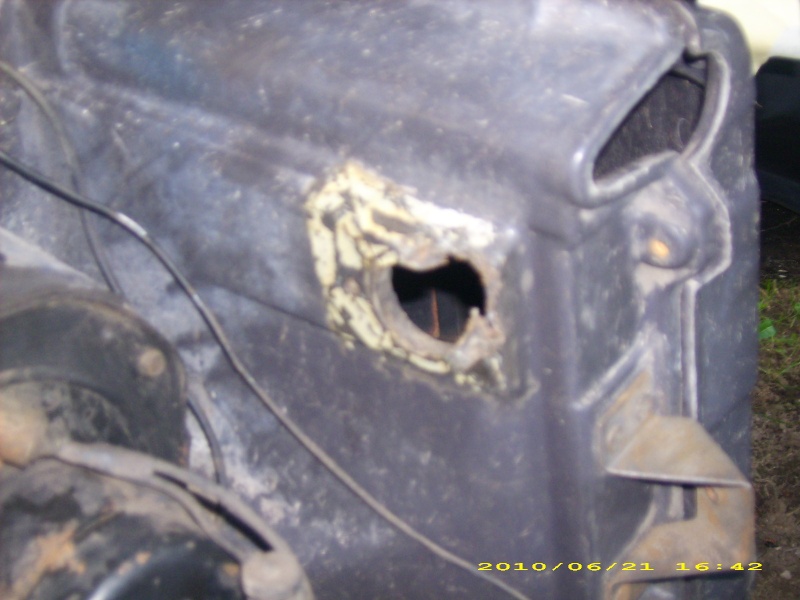
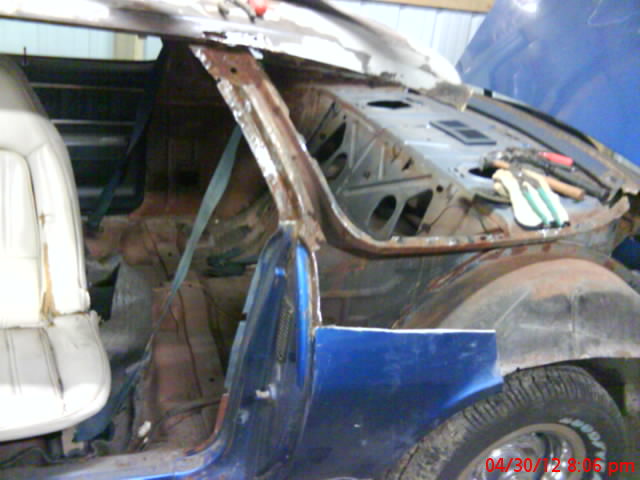
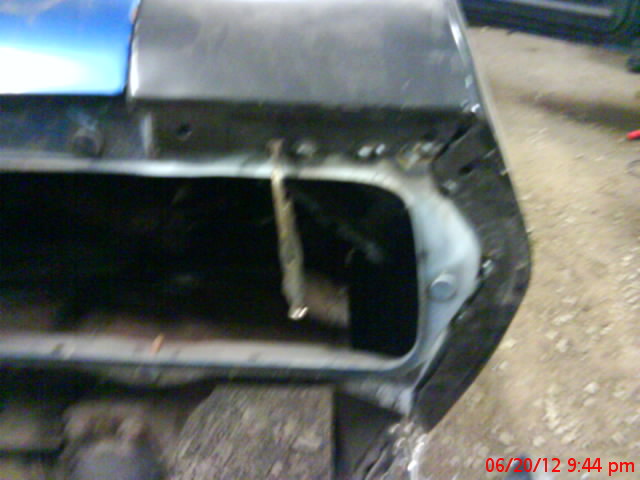
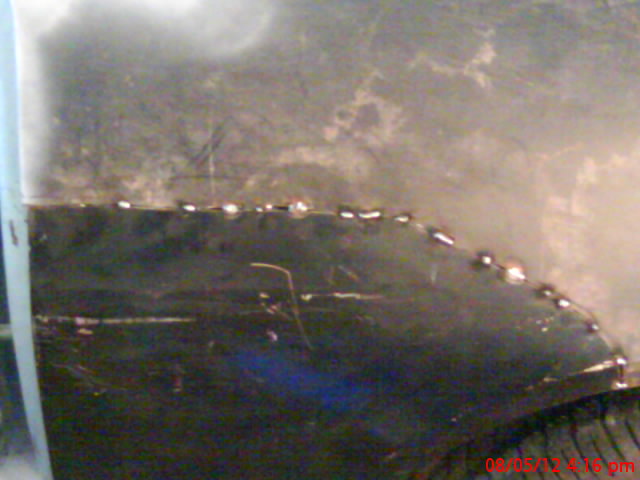
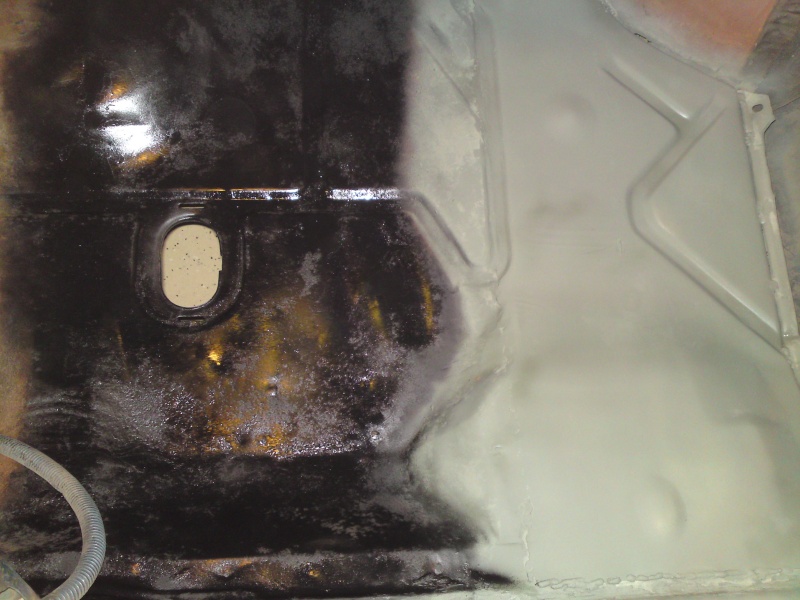
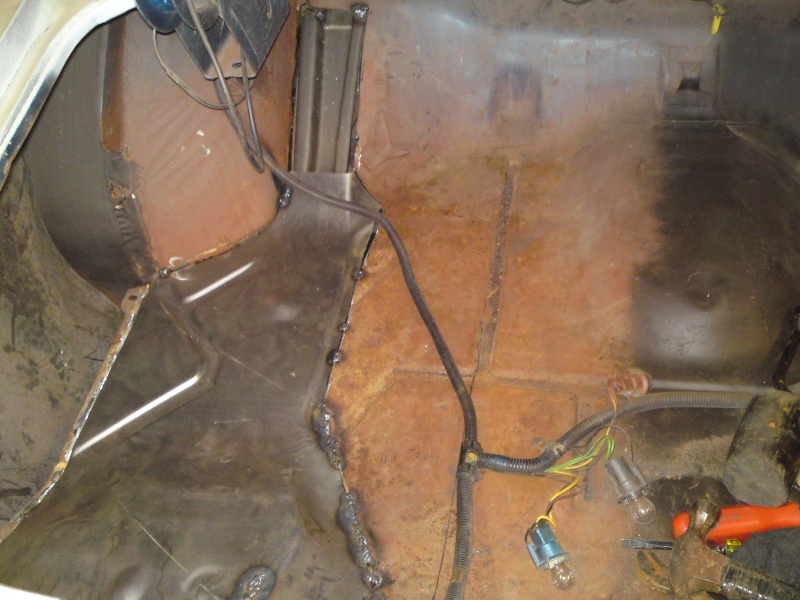
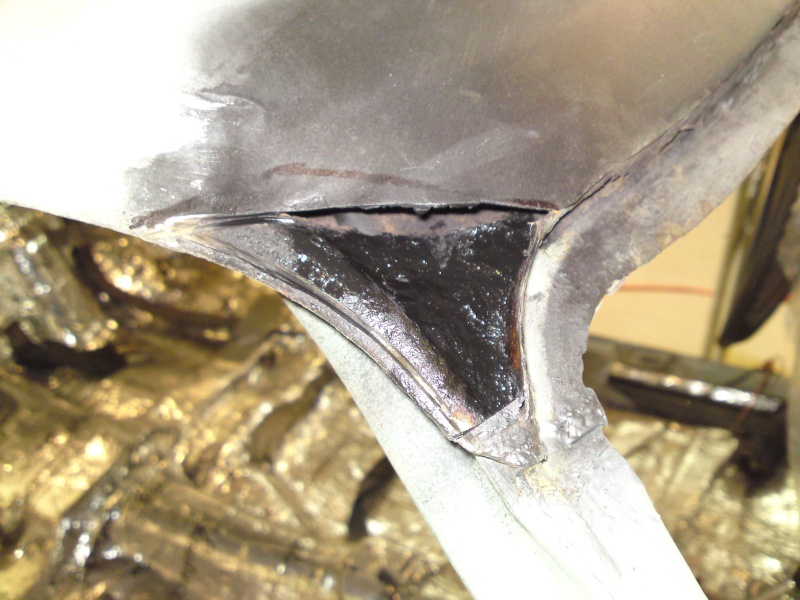
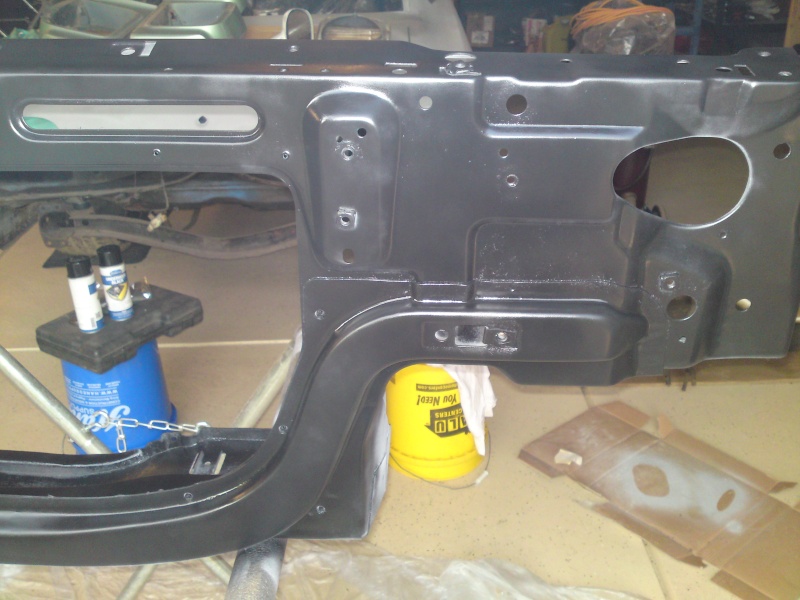
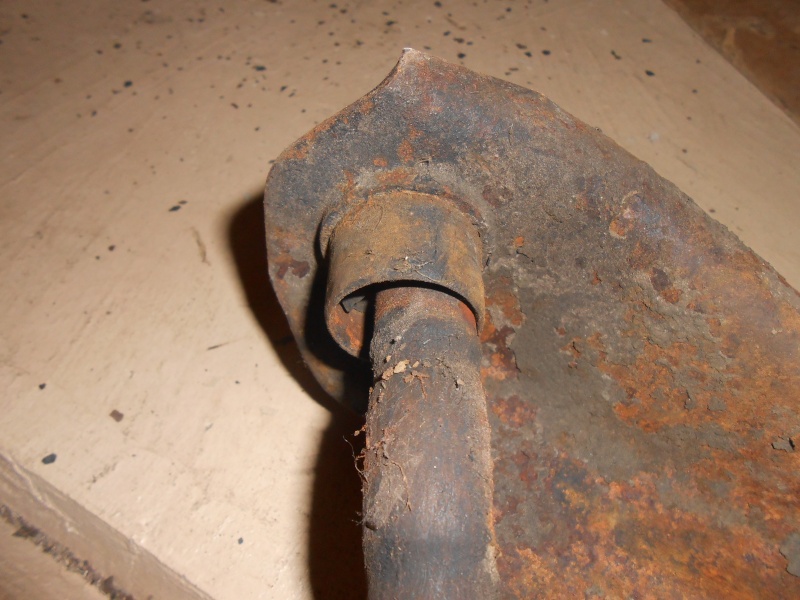
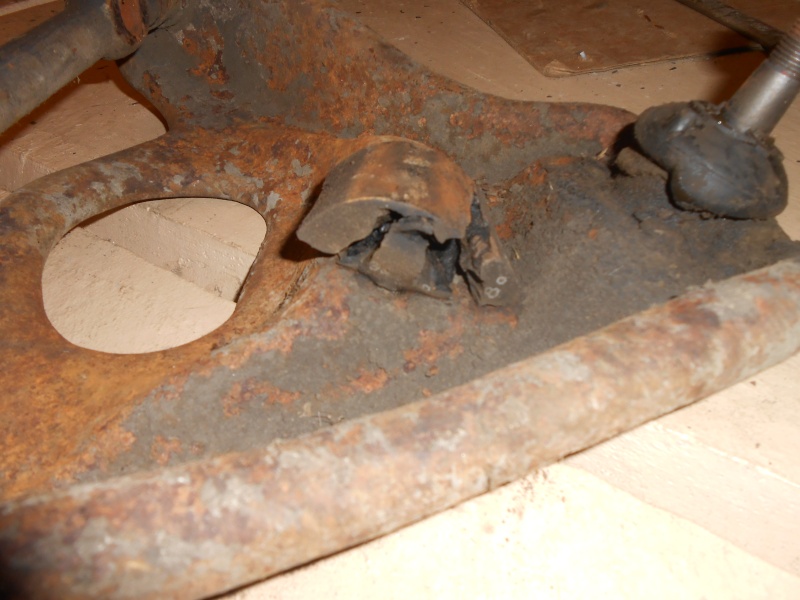
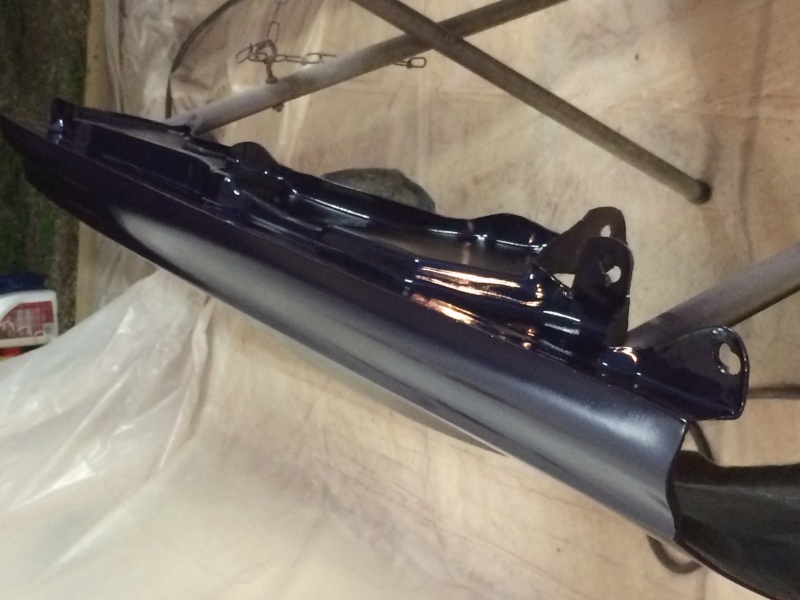
[/url]This is where I had to do some more steel repair

bitterfitter- Donating Member
- Street Cred : 9
Re: 1974 Malibu project timeline
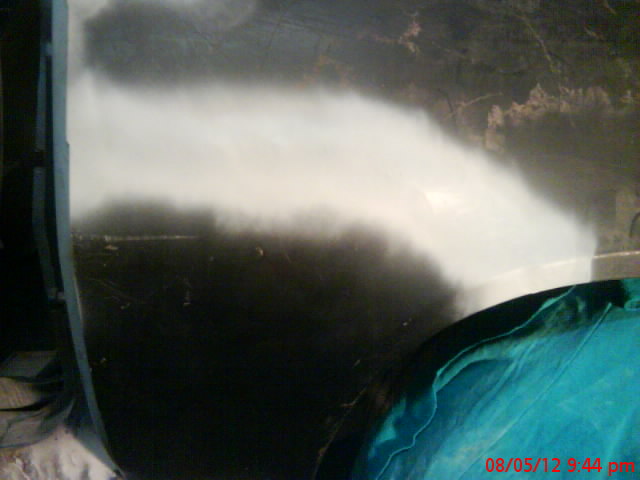
![]() by bitterfitter Tue Mar 29, 2016 2:36 pm
by bitterfitter Tue Mar 29, 2016 2:36 pm
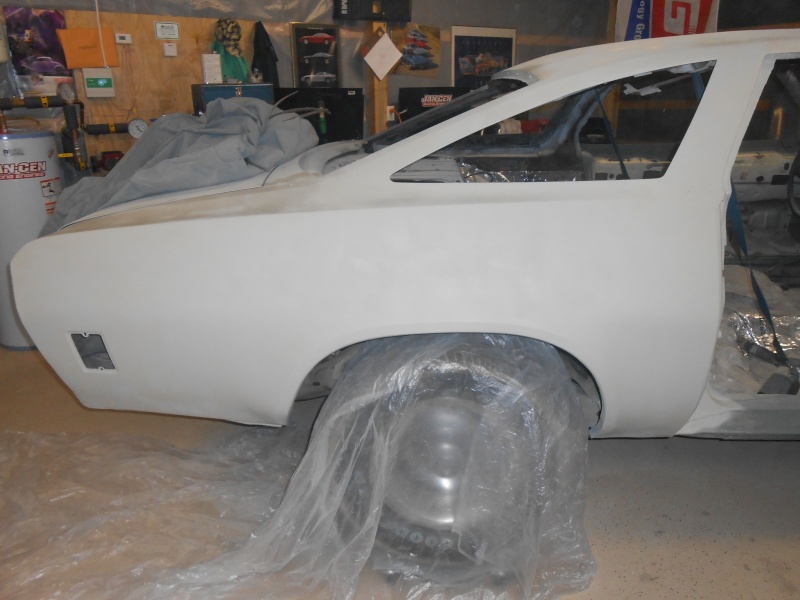
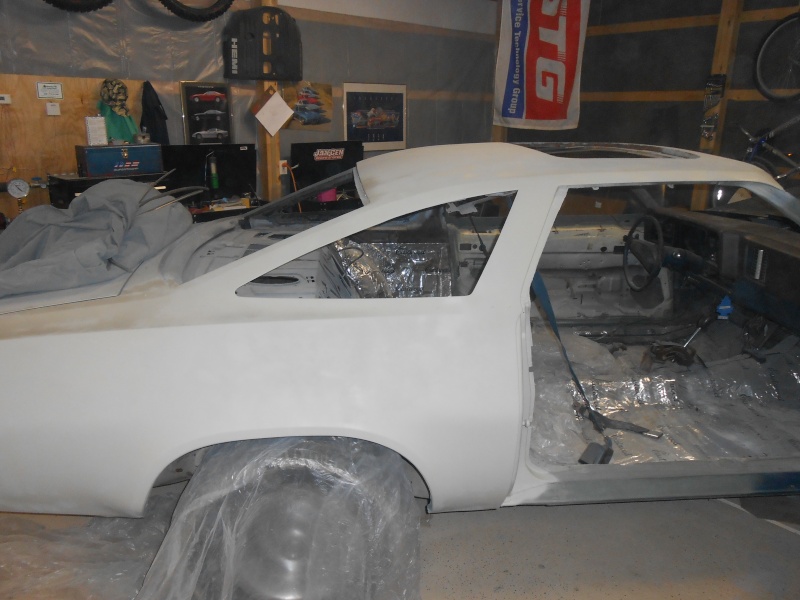


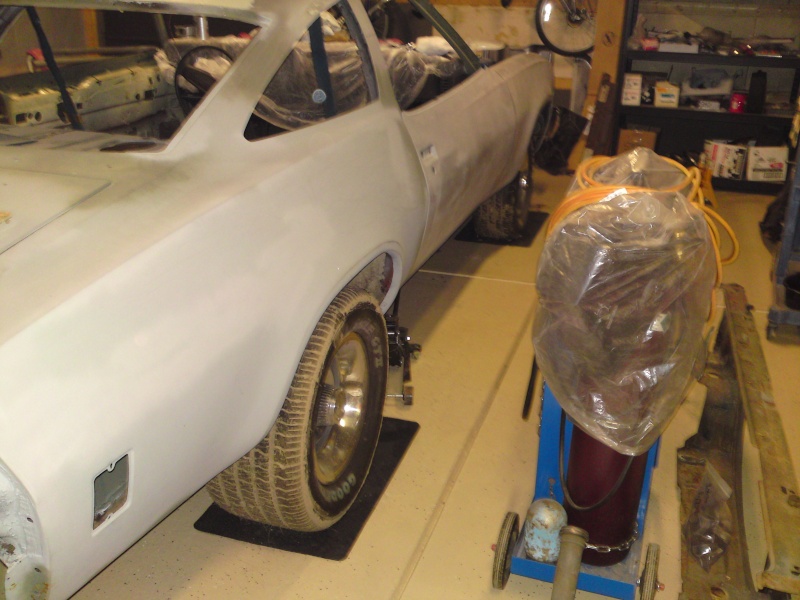
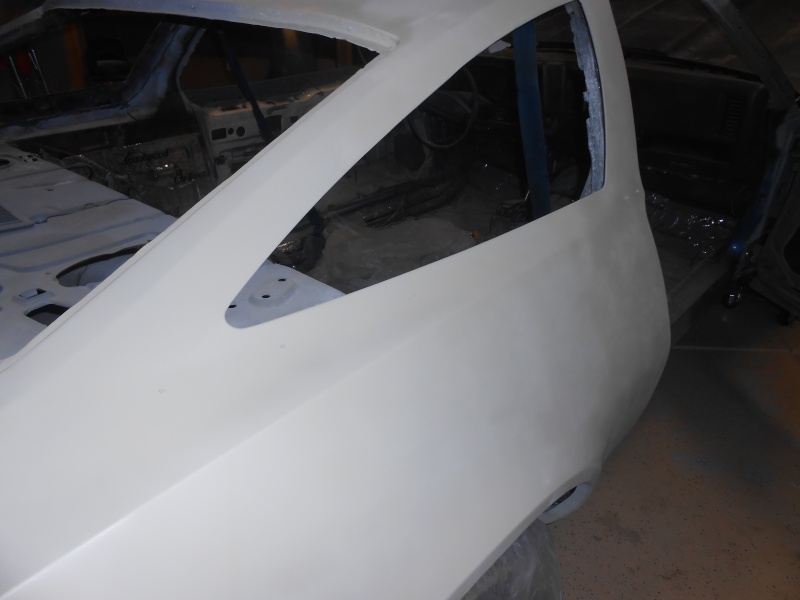
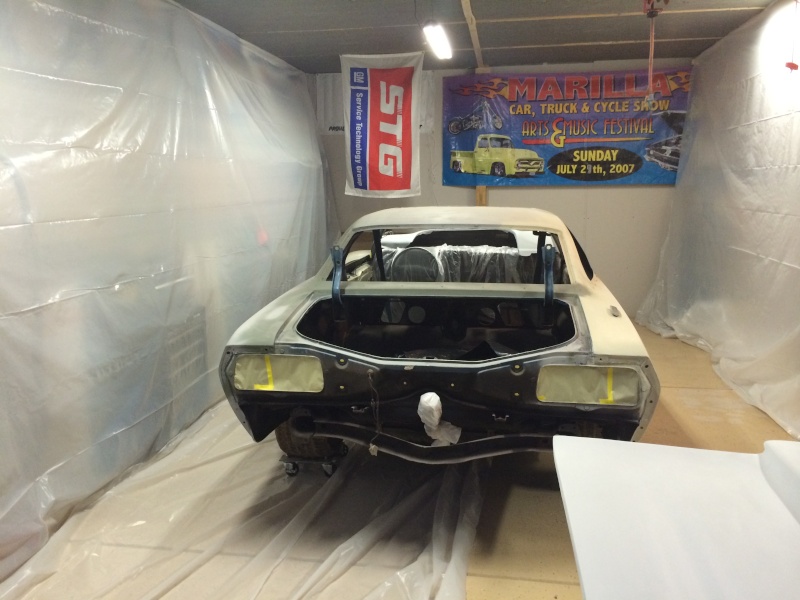
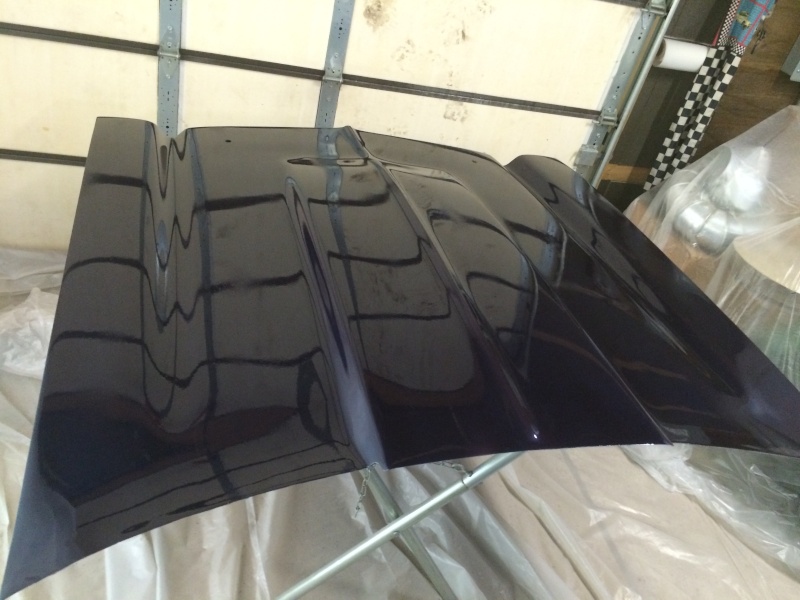
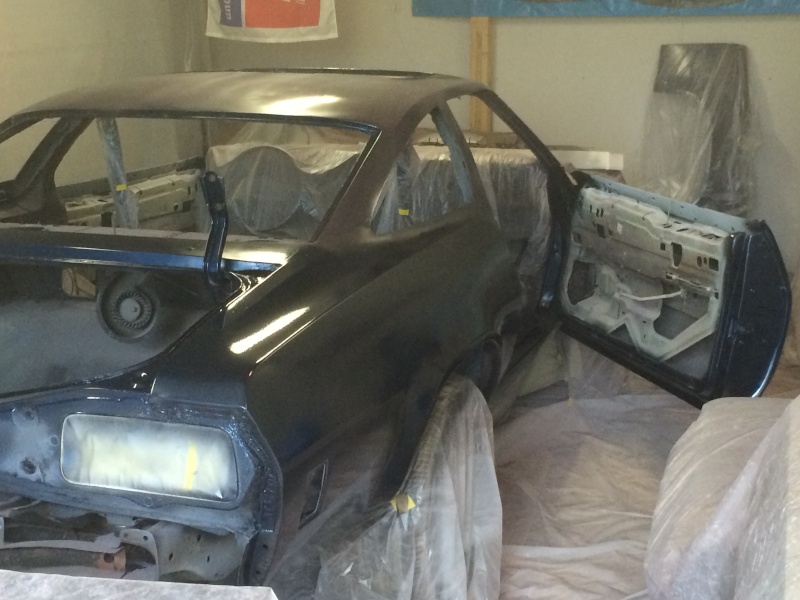
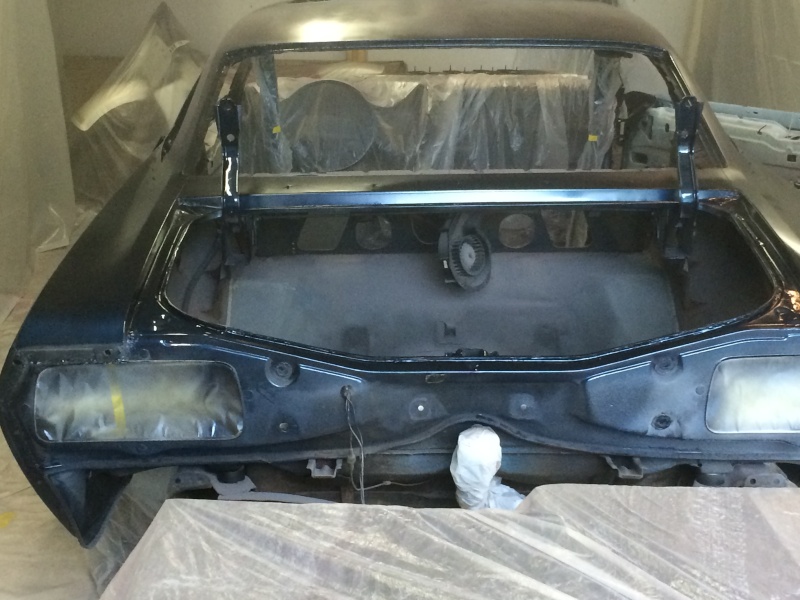
Just before the weather outside went cold, the car found itself in primer.
bitterfitter- Donating Member
- Street Cred : 9
Re: 1974 Malibu project timeline
![]() by Joe73 Tue Mar 29, 2016 3:25 pm
by Joe73 Tue Mar 29, 2016 3:25 pm

Joe73- Donating Member
- Street Cred : 83
Re: 1974 Malibu project timeline
![]() by bitterfitter Tue Mar 29, 2016 9:12 pm
by bitterfitter Tue Mar 29, 2016 9:12 pm
I hope you enjoy a few of the thousands of photos I have taken over the past 6 years. I have wished a few times that I had one of you guys here to give me a hand. Everything you see here has been done in my garage with my two hands. And I am far from knowing how to do all this stuff. I can't wait to show you the rest of my pics up to where I am now.
bitterfitter- Donating Member
- Street Cred : 9
77mali- Donating Member
- Street Cred : 62
Re: 1974 Malibu project timeline
![]() by dynchel Wed Mar 30, 2016 6:44 am
by dynchel Wed Mar 30, 2016 6:44 am

dynchel- Donating Member
- Street Cred : 40
Re: 1974 Malibu project timeline
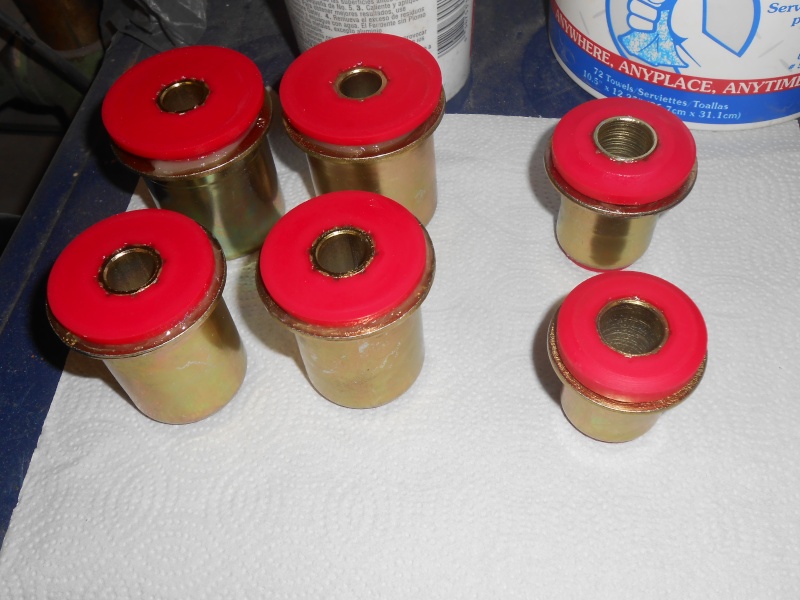
![]() by bitterfitter Wed Mar 30, 2016 8:22 am
by bitterfitter Wed Mar 30, 2016 8:22 am
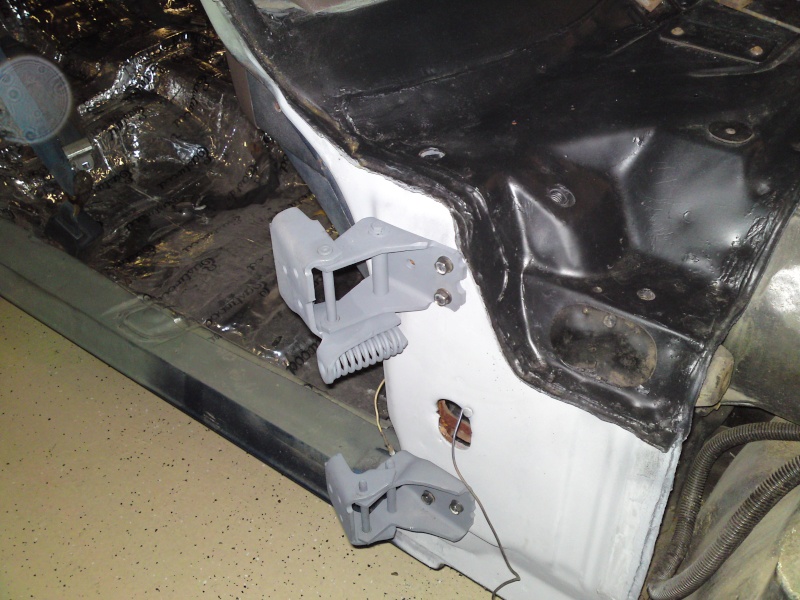
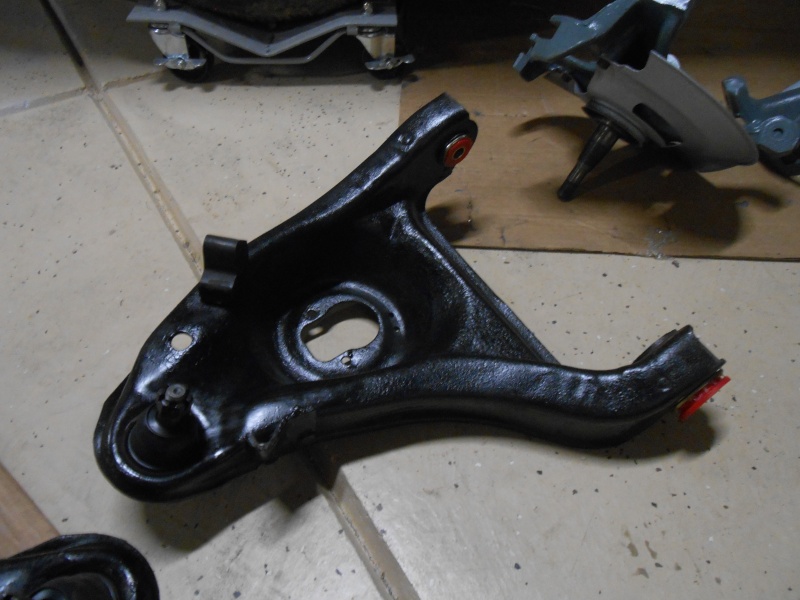
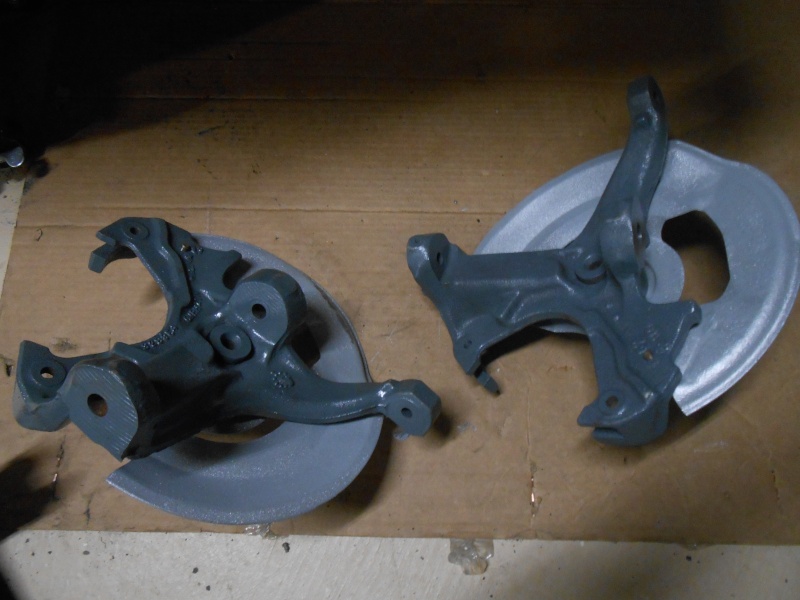
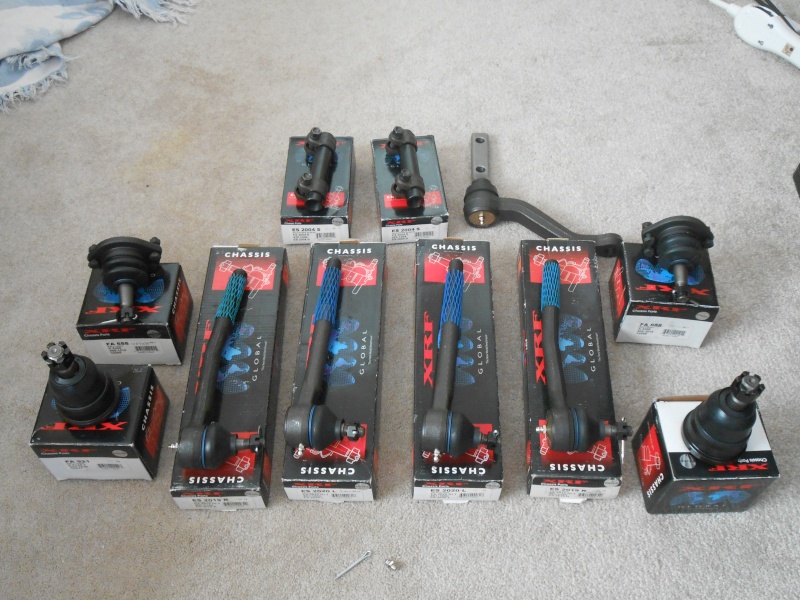
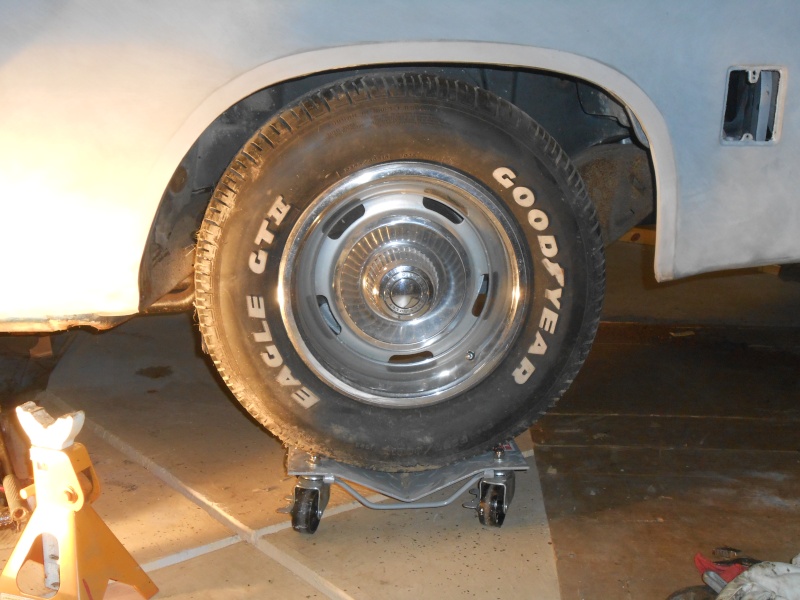
I bought all new front suspension parts from poly bushings, to ball joints and centerlink, etc. I cleaned up my control arms and did a nice black epoxy finish. I also cut my front springs down to take 2" of the height in the front. I have since then decided to replace these springs with Detroit Speed lowering springs in the front to match the set I purchased for the rear. Actually from a member on here.
bitterfitter- Donating Member
- Street Cred : 9
Re: 1974 Malibu project timeline
![]() by bitterfitter Wed Mar 30, 2016 8:30 am
by bitterfitter Wed Mar 30, 2016 8:30 am
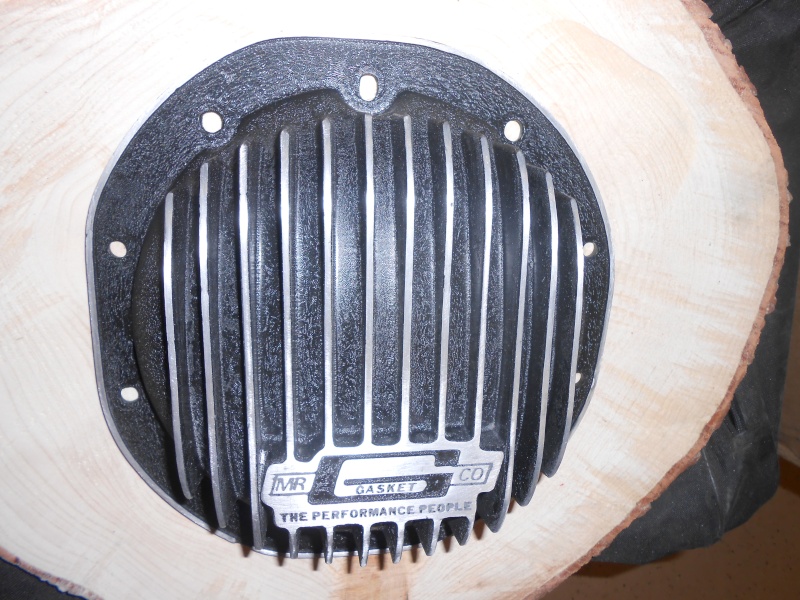
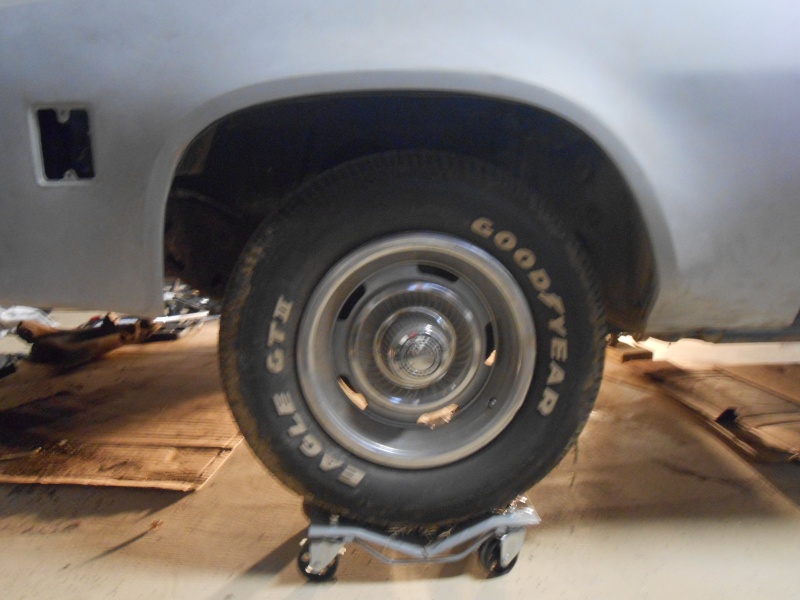
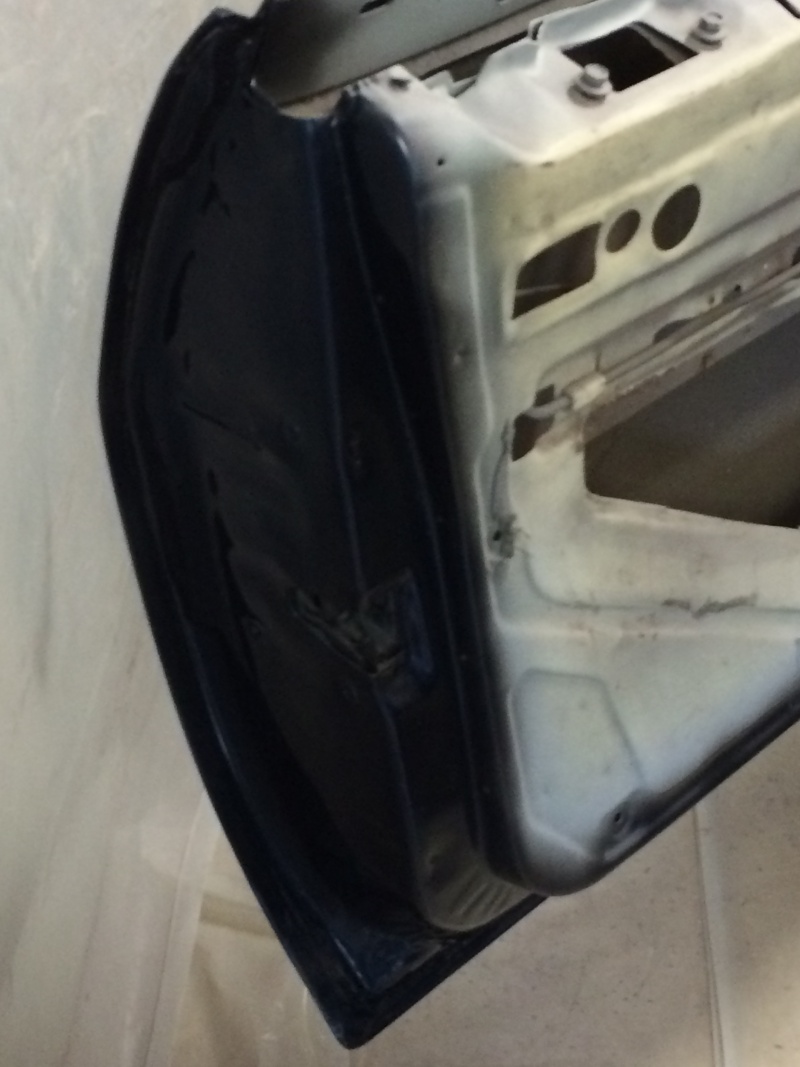
It was in pretty bad shape before I stripped it and recoated with wrinkle paint and sanded the exposed areas.
bitterfitter- Donating Member
- Street Cred : 9
Re: 1974 Malibu project timeline
![]() by Joe73 Wed Mar 30, 2016 9:18 am
by Joe73 Wed Mar 30, 2016 9:18 am
Joe73- Donating Member
- Street Cred : 83
Re: 1974 Malibu project timeline
![]() by bitterfitter Wed Mar 30, 2016 9:41 am
by bitterfitter Wed Mar 30, 2016 9:41 am


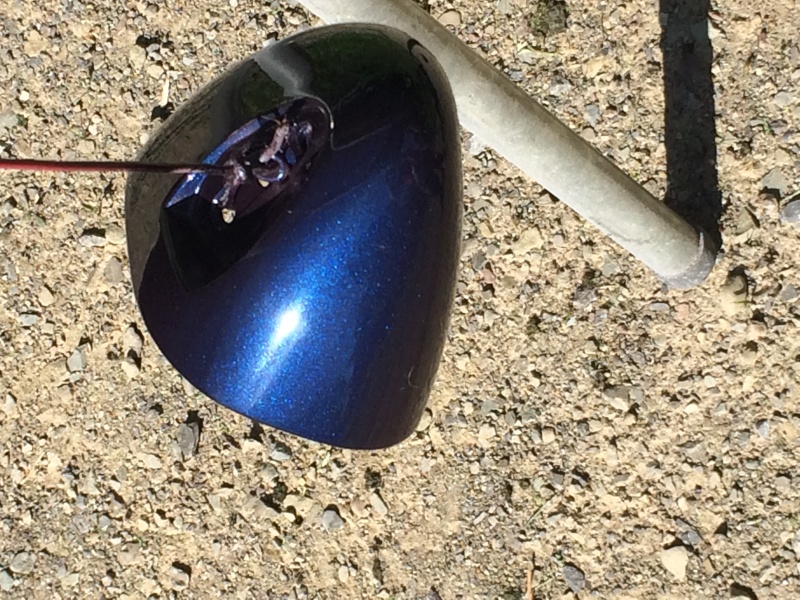
Not quite the color I was expecting!!
bitterfitter- Donating Member
- Street Cred : 9
Re: 1974 Malibu project timeline
![]() by bitterfitter Wed Mar 30, 2016 10:13 am
by bitterfitter Wed Mar 30, 2016 10:13 am
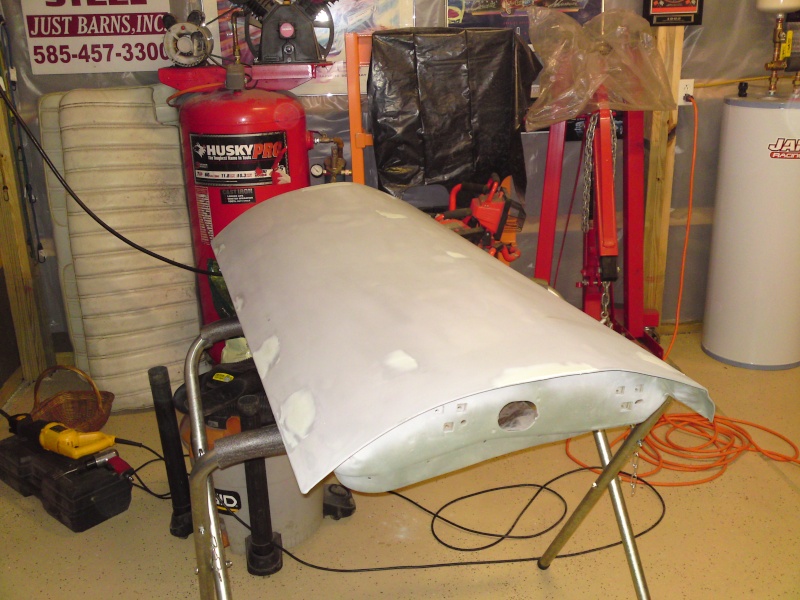
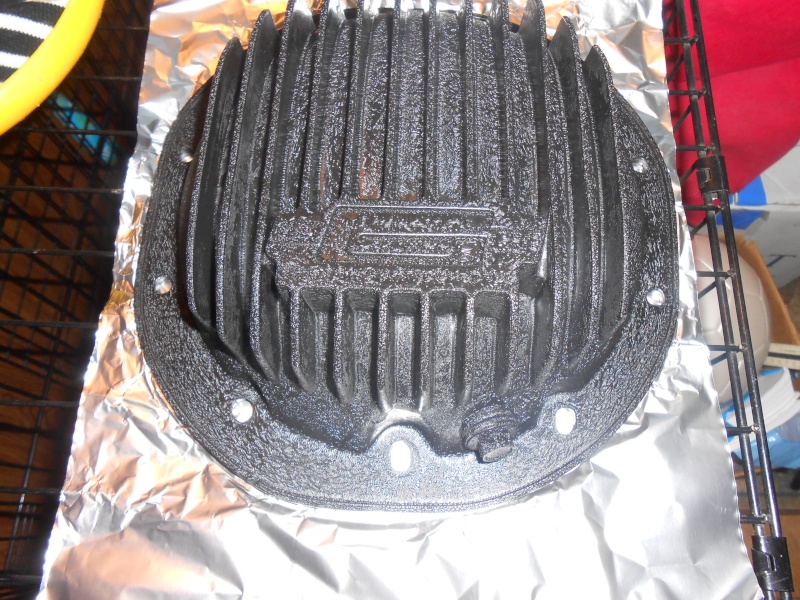
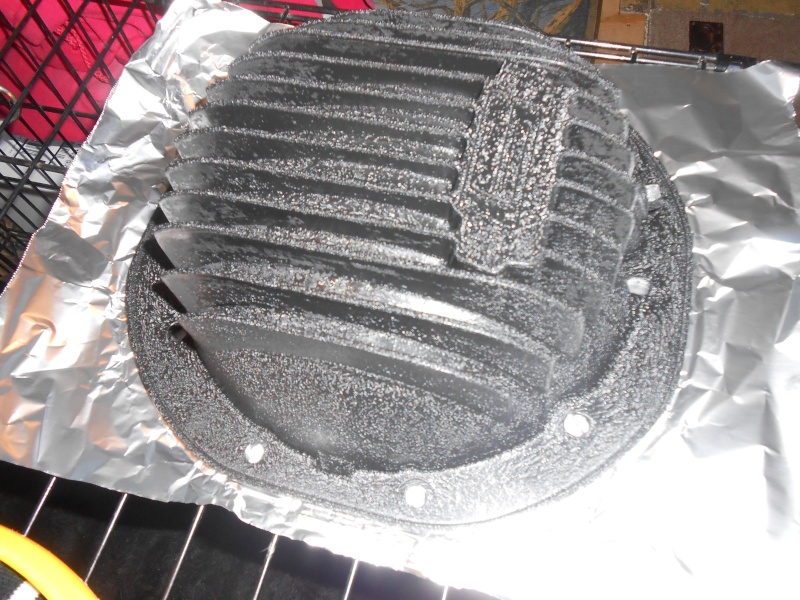
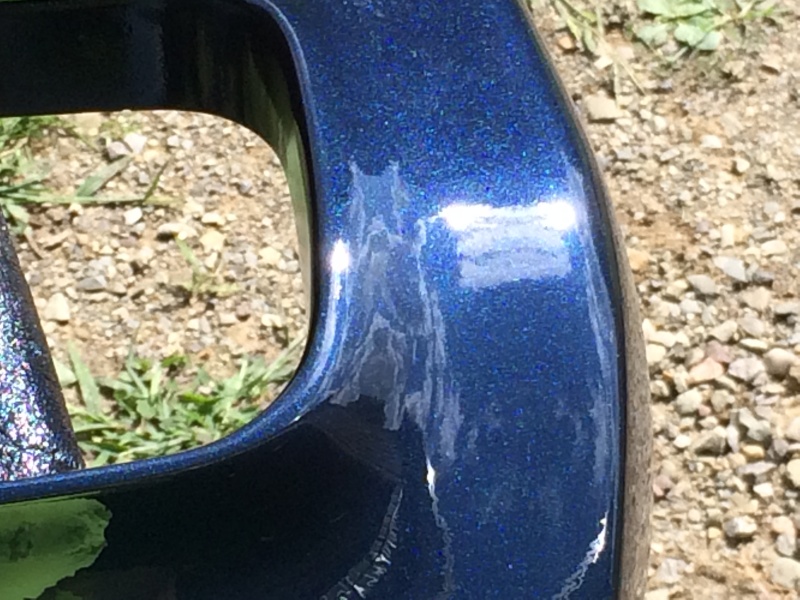
Joe73 wrote:I always loved those rear covers as well. I have a brand new one sitting on a shelf. Won it as partial payment in a drag race in the 80s.
When I noticed this cover and decided to refurbish it, I checked the internet for a new one. They turned out to be really hard to find and very expensive now. All the more reason to keep it and make it look like new.
bitterfitter- Donating Member
- Street Cred : 9
Re: 1974 Malibu project timeline
![]() by bitterfitter Wed Mar 30, 2016 10:30 am
by bitterfitter Wed Mar 30, 2016 10:30 am
bitterfitter- Donating Member
- Street Cred : 9

bitterfitter- Donating Member
- Street Cred : 9


bitterfitter- Donating Member
- Street Cred : 9
Page 1 of 3 • 1, 2, 3 ![]()


G3GM :: Media :: G3 Project Pictures
|
|
|
» Rusty's progress Carpet Chevk now onto floor replacement
» PARTS NEED TO GO FOR OUR MOVE I DONT WANNA TAKE WITH
» Need driver side bucket seat 73 Laguna
» Laguna NOSE
» Virtual Ink from this weekend
» 1973 Chevelle SS Station Wagon
» Elcofest 2023
» Wanted drip rails for 1975 four-door Chevelle Malibu-Thanks!
» Parts please