


Rear refresh
4 posters
G3GM :: Media :: G3 Project Pictures
Page 1 of 1

Rear refresh
![]() by Damon23 Sat Aug 13, 2016 5:12 pm
by Damon23 Sat Aug 13, 2016 5:12 pm
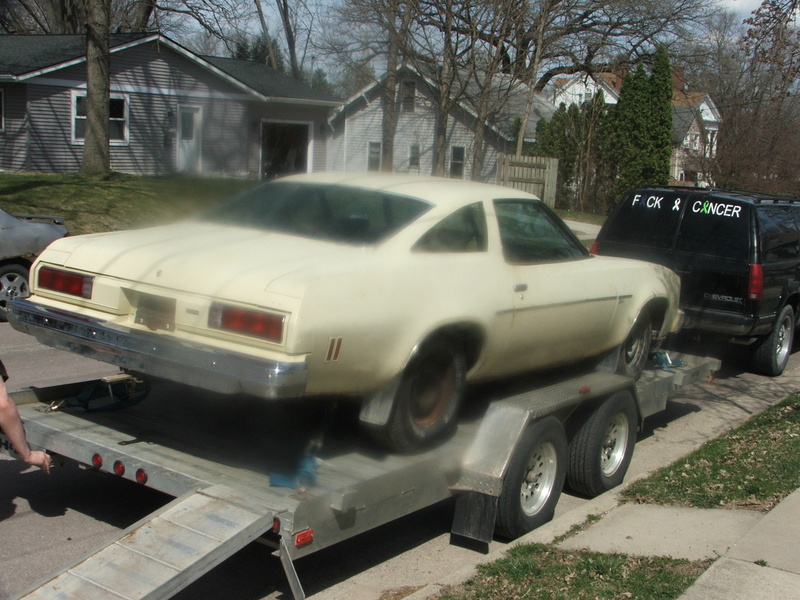
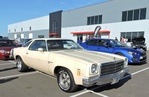
My 75 is a good car but needs attention here and there. One of those areas is the rear of the car. According to the paperwork the car was taken apart and painted back in 06. They did a pretty good job but something happened out back between then and when I got it cause it was not right. The filler was awful. It has deep sanding scratches and the paint is not even close. I think they got the paint code off the tag and went with that and the car is not the original color. It is a code 26 car and now is more of a 28.
I was able to get a set of nice tail lights off facebook and after a quick clean, sand and polish I can say I have like new tail lights. And I cannot put new tail lights in a tail panel that has overspray and is overall not pretty so I pulled that. Then the aforementioned fillers need work. So it is all apart ready for some work and paint. I'm going to take the corners down to the paint place and get them to match it. They'll put it spray cans for me cause that will be easier. I do need to get some in a quart or so cause of the clear lifting on the trunk lid. Gotta pick up four bumper bolts cause I removed the bumper guards off the front and back. The license plate holder was also removed for a clean look up front. I bought a set of bumper brackets from a member here to tuck the front bumper but I decided not to do it. The rear is another story though. I want to move it in a inch or two so if anyone has any advice on the whole drill a hole in the shock thing please let me have it. I'm also thinking of a semi-gloss black rear tail panel. What do you all think?
Old lenses
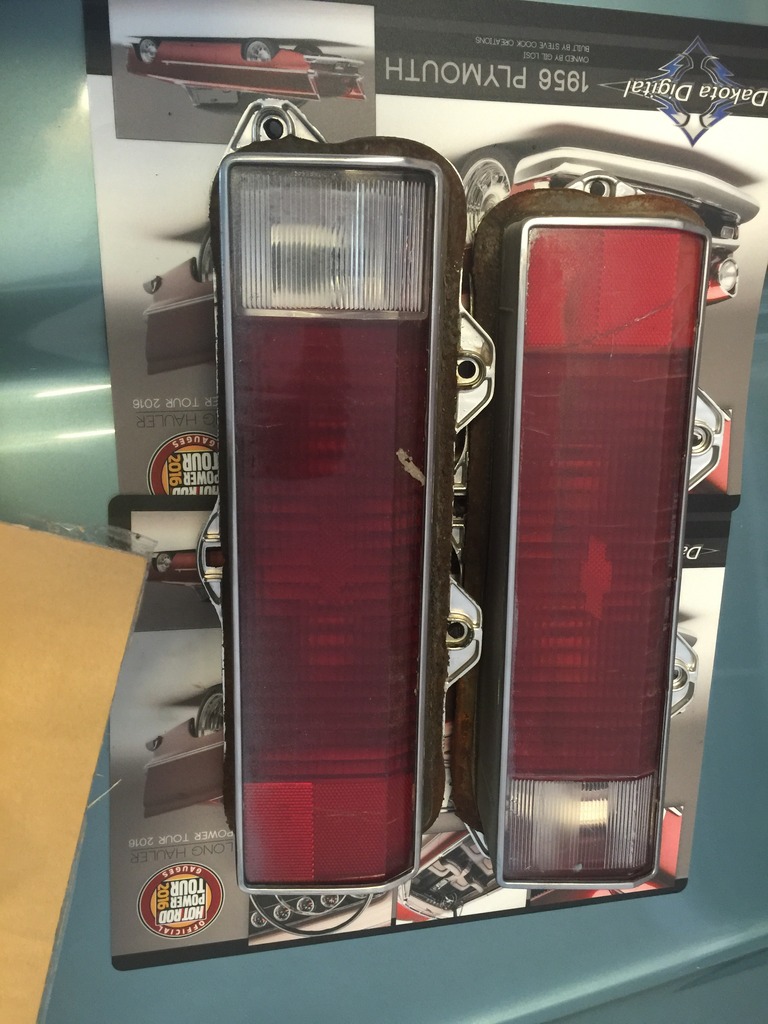
New lenses

Tail panel

See what I mean about the fillers?


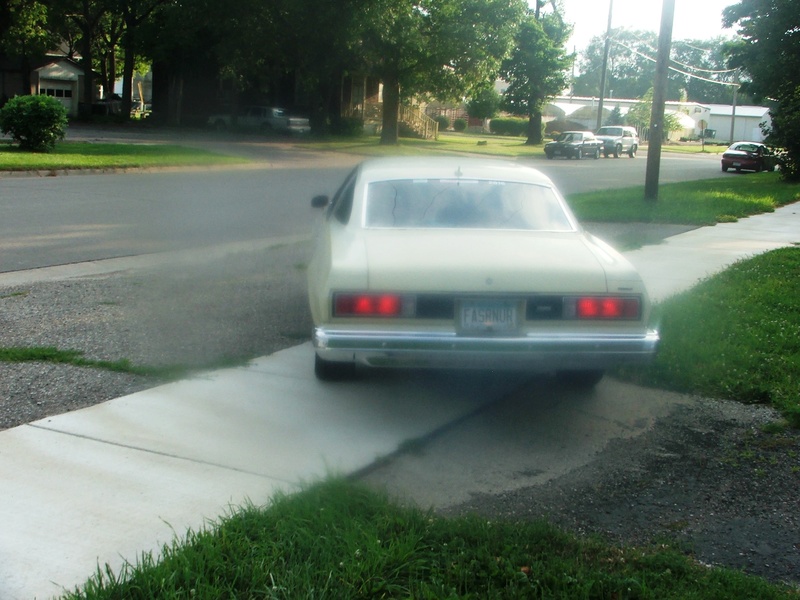
Just little things for right now. Trying to get it ready to take to Daytona for the Turkey Rod Run. I got a new license plate light installed and a dual exhaust crossmember on the way. Exhaust is the next little project.
I was able to get a set of nice tail lights off facebook and after a quick clean, sand and polish I can say I have like new tail lights. And I cannot put new tail lights in a tail panel that has overspray and is overall not pretty so I pulled that. Then the aforementioned fillers need work. So it is all apart ready for some work and paint. I'm going to take the corners down to the paint place and get them to match it. They'll put it spray cans for me cause that will be easier. I do need to get some in a quart or so cause of the clear lifting on the trunk lid. Gotta pick up four bumper bolts cause I removed the bumper guards off the front and back. The license plate holder was also removed for a clean look up front. I bought a set of bumper brackets from a member here to tuck the front bumper but I decided not to do it. The rear is another story though. I want to move it in a inch or two so if anyone has any advice on the whole drill a hole in the shock thing please let me have it. I'm also thinking of a semi-gloss black rear tail panel. What do you all think?
Old lenses
New lenses
Tail panel
See what I mean about the fillers?
Just little things for right now. Trying to get it ready to take to Daytona for the Turkey Rod Run. I got a new license plate light installed and a dual exhaust crossmember on the way. Exhaust is the next little project.
Damon23- G3GM Member

- Street Cred : 5
Re: Rear refresh
![]() by fasrnur Sat Aug 13, 2016 9:33 pm
by fasrnur Sat Aug 13, 2016 9:33 pm
I blacked out the panel around the lights only Damon. It gives it a different look indeed. I did only the area that was inside of the raised area of the panel if that makes any sense.
fasrnur- G3GM Enthusiast

- Street Cred : 9
Re: Rear refresh
![]() by Limey SE Sat Aug 13, 2016 11:00 pm
by Limey SE Sat Aug 13, 2016 11:00 pm
Damon PM Sent
___________________________________________
1977 Chevelle SE x2
One Mild original
one Wild NON original
Anthony

Limey SE- Management

- Street Cred : 98
Re: Rear refresh
![]() by Damon23 Mon Sep 05, 2016 1:51 pm
by Damon23 Mon Sep 05, 2016 1:51 pm
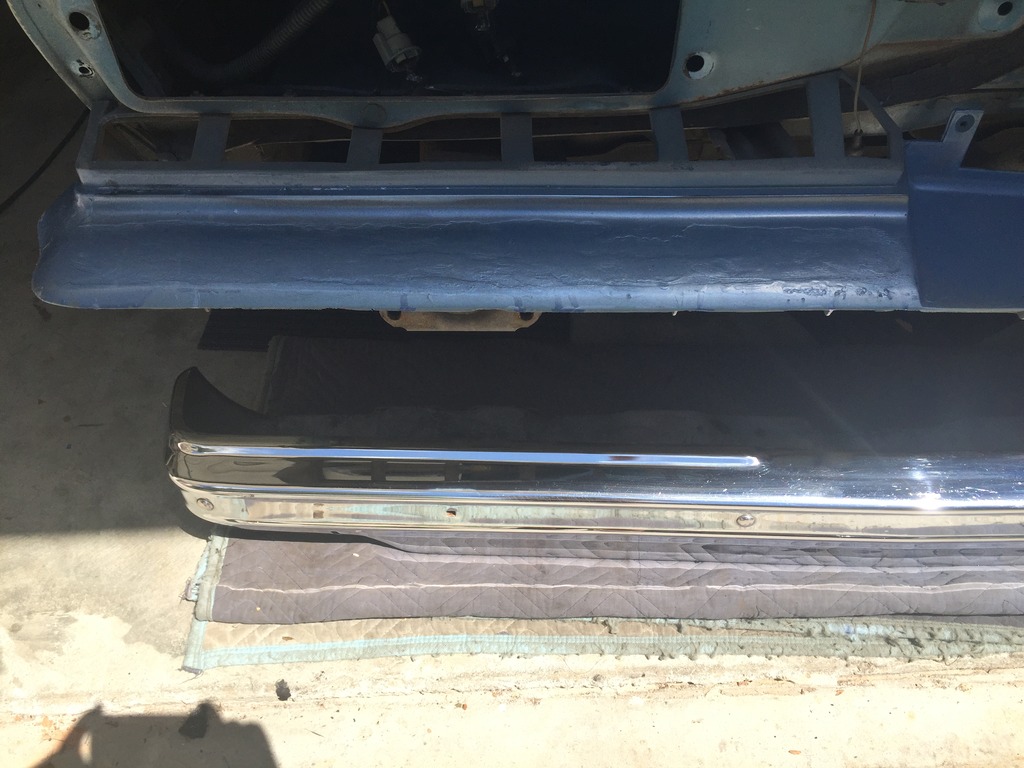
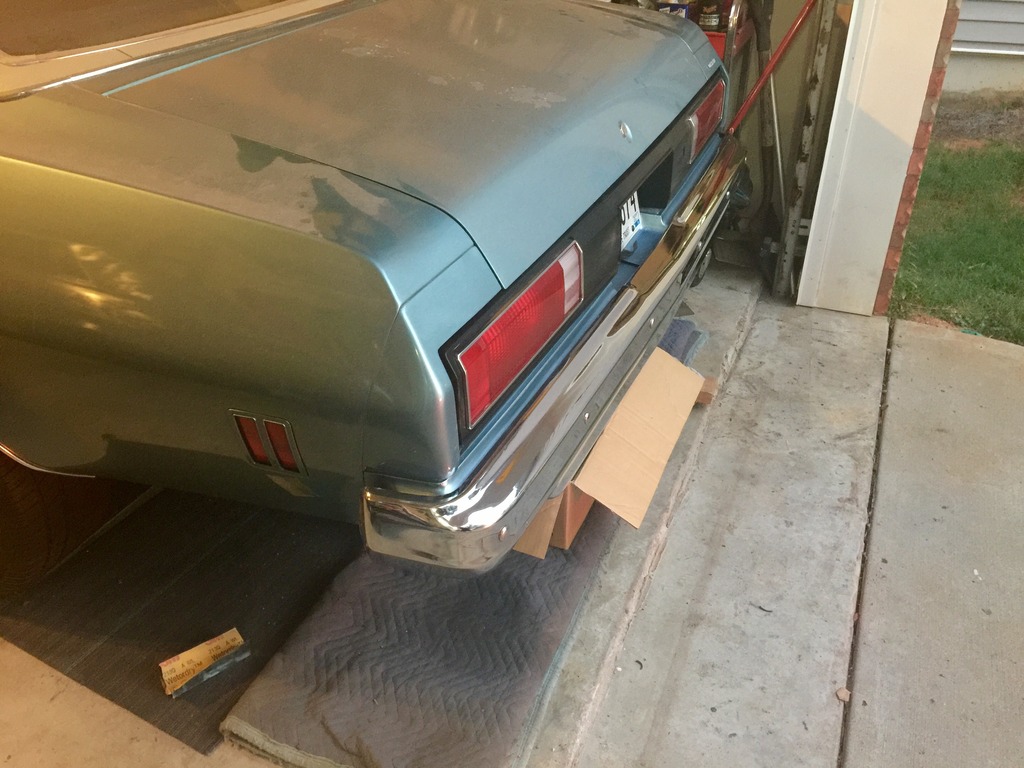
Alright. I can put this one to bed for now. Tail panel painted, trimmed the fillers and tucked the rear bumper. Looks a bunch better. Still have to paint those pieces that go on each side of the lights but they will be black.
I moved up to the front. Painted the tuck brackets and installed.


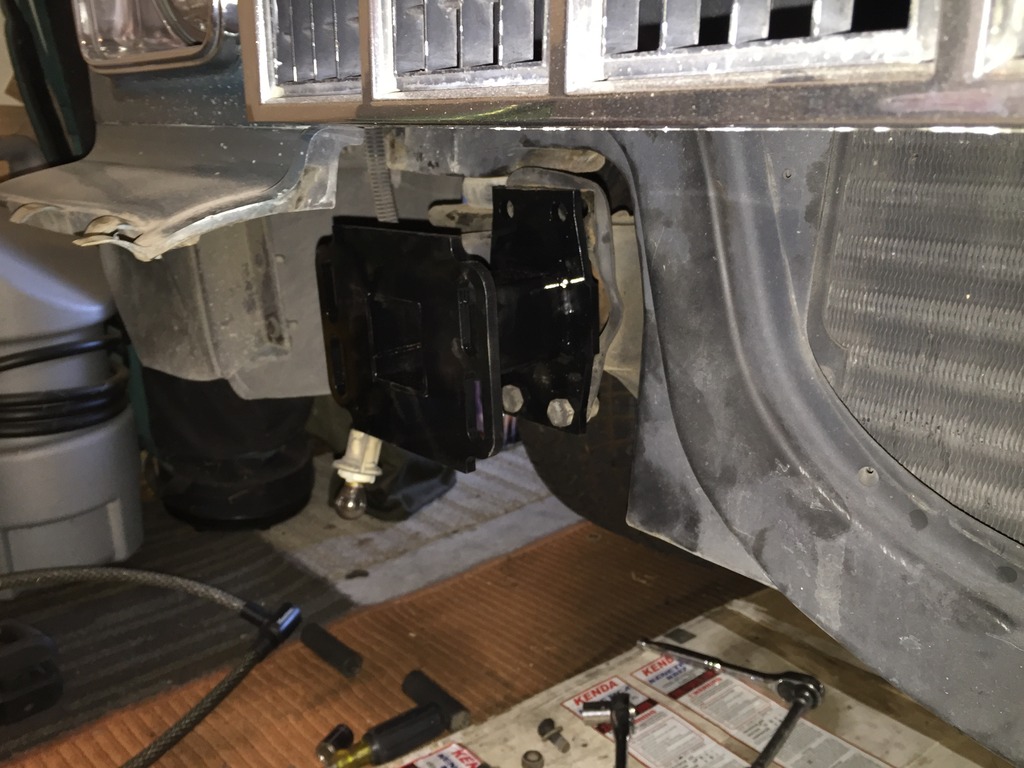
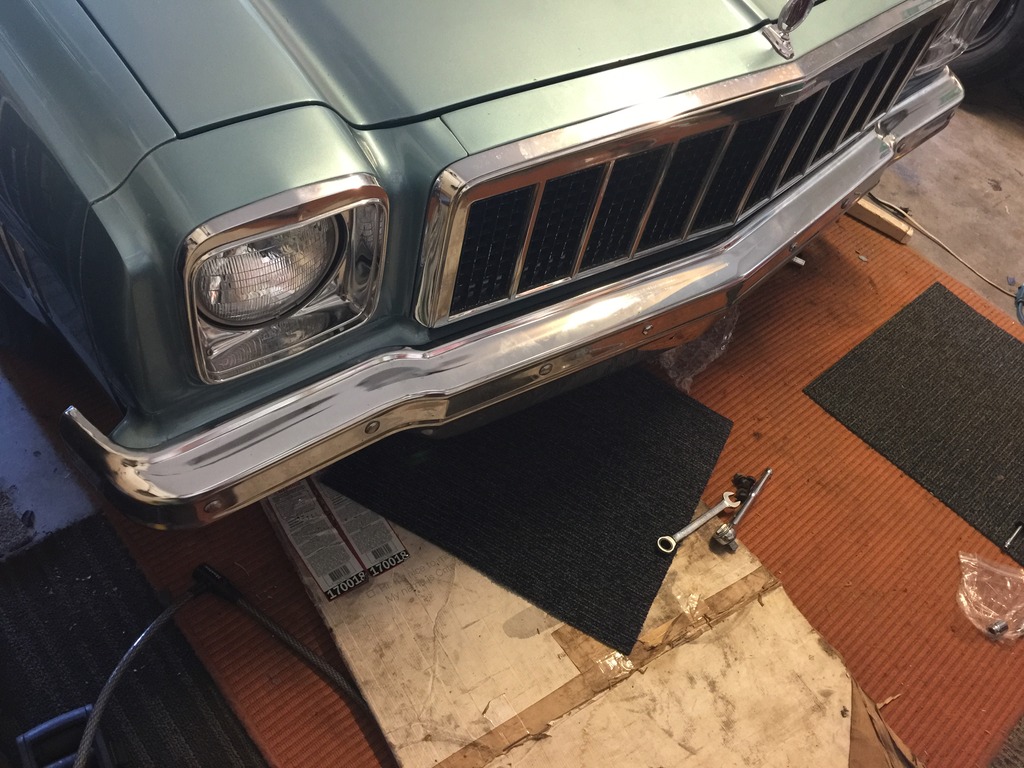
I thought I was doing good until I noticed that my front bumper is bent on the drivers side. Oh well. I was going to do them silver anyway so I guess I'll look for a new one some time after the first of the year.
Oh yeah, and my cross member came last week. Just got around to opening it.

I moved up to the front. Painted the tuck brackets and installed.
I thought I was doing good until I noticed that my front bumper is bent on the drivers side. Oh well. I was going to do them silver anyway so I guess I'll look for a new one some time after the first of the year.
Oh yeah, and my cross member came last week. Just got around to opening it.
Damon23- G3GM Member
- Street Cred : 5
Re: Rear refresh
![]() by Damon23 Mon Sep 05, 2016 1:55 pm
by Damon23 Mon Sep 05, 2016 1:55 pm
Oh, I have to thank Mcarlo77 for the new license plate lense, tropdeprojet for the tuck brackets and eboklund73 for the cross member.
Damon23- G3GM Member
- Street Cred : 5
Re: Rear refresh
![]() by fasrnur Mon Sep 05, 2016 2:13 pm
by fasrnur Mon Sep 05, 2016 2:13 pm
Nice work sir. Did you get both bumper tuck brackets from tropdeprojet?
fasrnur- G3GM Enthusiast
- Street Cred : 9
Re: Rear refresh
![]() by Hawk03 Mon Sep 05, 2016 3:38 pm
by Hawk03 Mon Sep 05, 2016 3:38 pm
That looks great, nice work! Did you use front brackets for the rear too?

Hawk03- G3GM Enthusiast
- Street Cred : 18
Re: Rear refresh
![]() by Damon23 Mon Sep 05, 2016 3:51 pm
by Damon23 Mon Sep 05, 2016 3:51 pm
I drilled the shocks then ran a retaining bolt in them so they don't come out. I don't think those brackets would have given the tuck I wanted out back.
Damon23- G3GM Member
- Street Cred : 5


G3GM :: Media :: G3 Project Pictures
Page 1 of 1
Permissions in this forum:
You cannot reply to topics in this forum|
|
|
» Rusty's progress Carpet Chevk now onto floor replacement
» PARTS NEED TO GO FOR OUR MOVE I DONT WANNA TAKE WITH
» Need driver side bucket seat 73 Laguna
» Laguna NOSE
» Virtual Ink from this weekend
» 1973 Chevelle SS Station Wagon
» Elcofest 2023
» Wanted drip rails for 1975 four-door Chevelle Malibu-Thanks!
» Parts please