


Hawk03 Redo
G3GM :: Media :: G3 Project Pictures
Page 1 of 7 • 1, 2, 3, 4, 5, 6, 7 ![]()

Hawk03 Redo
![]() by Hawk03 Mon Jul 15, 2013 10:14 pm
by Hawk03 Mon Jul 15, 2013 10:14 pm
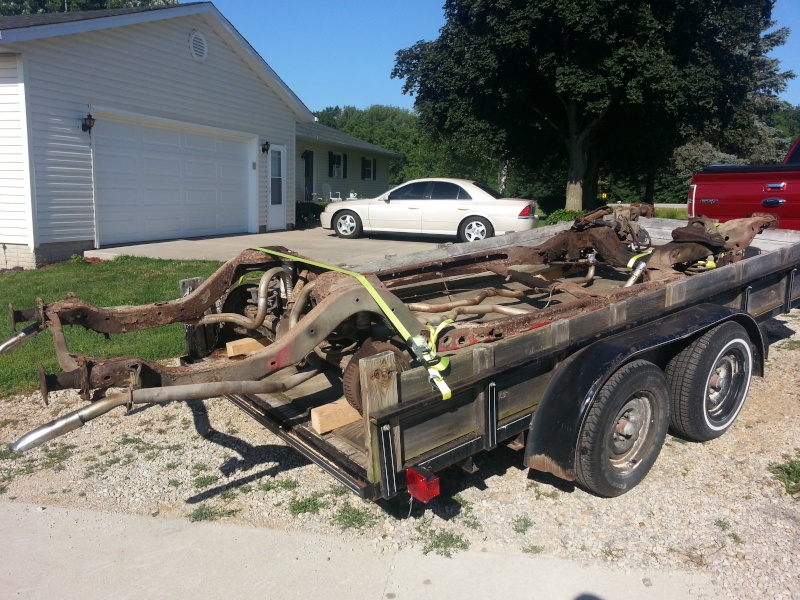
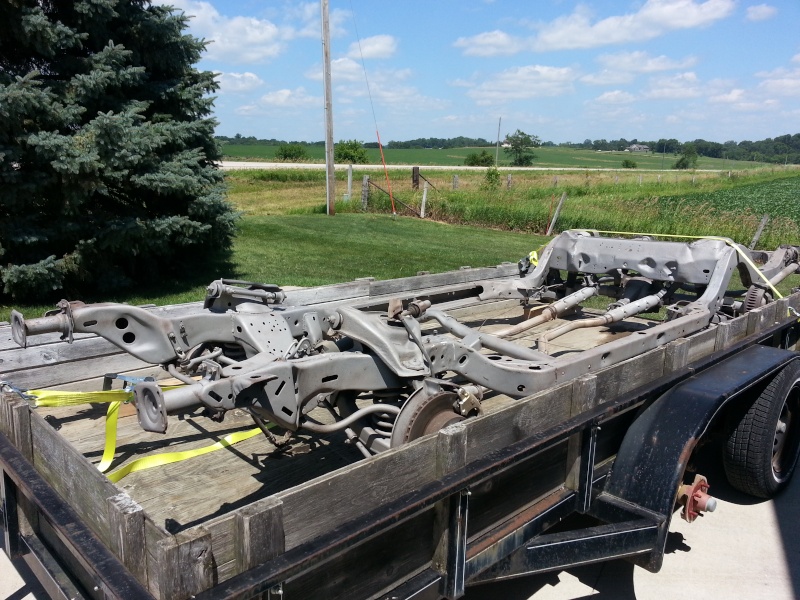
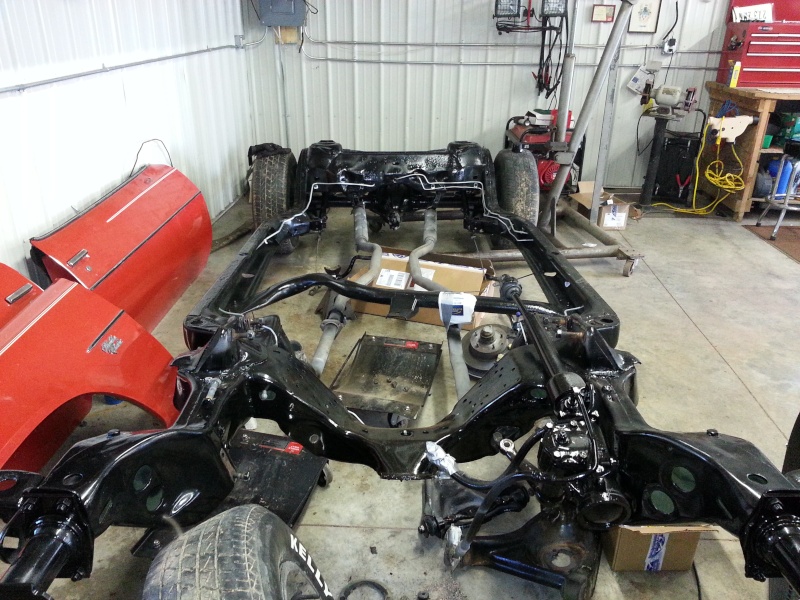
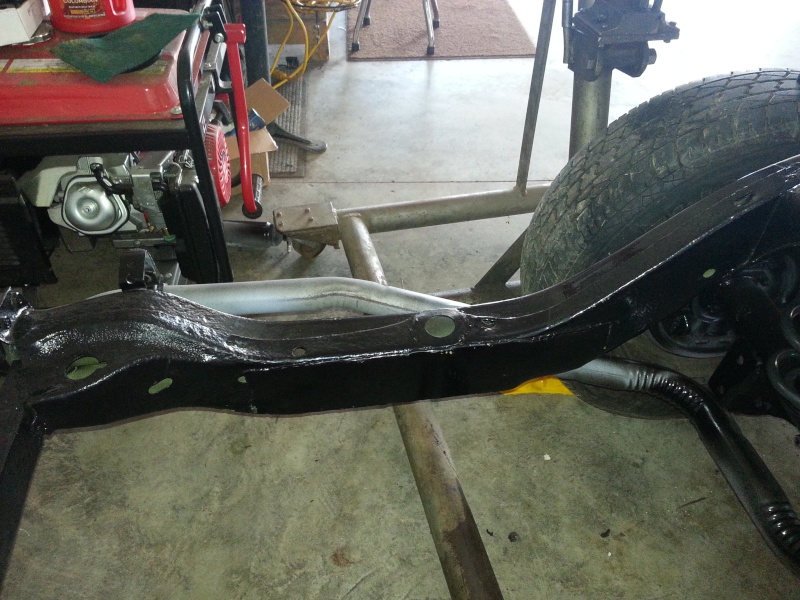
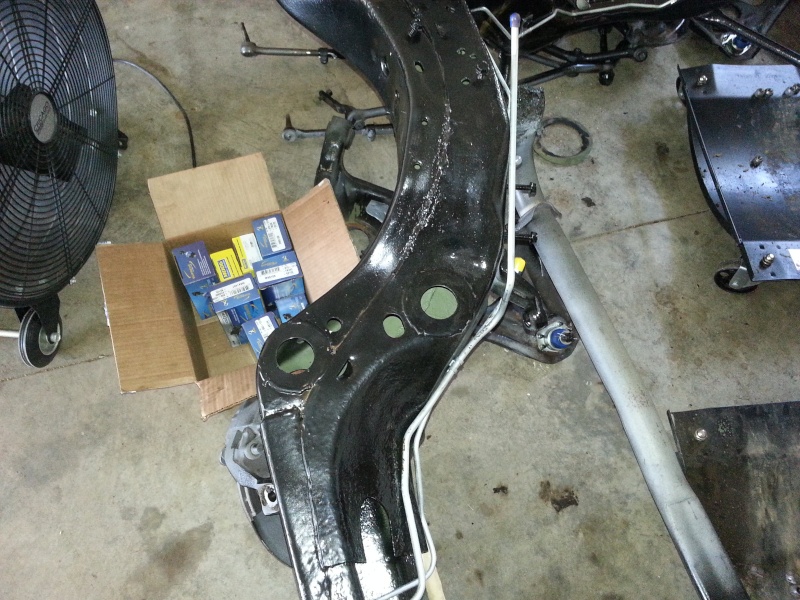
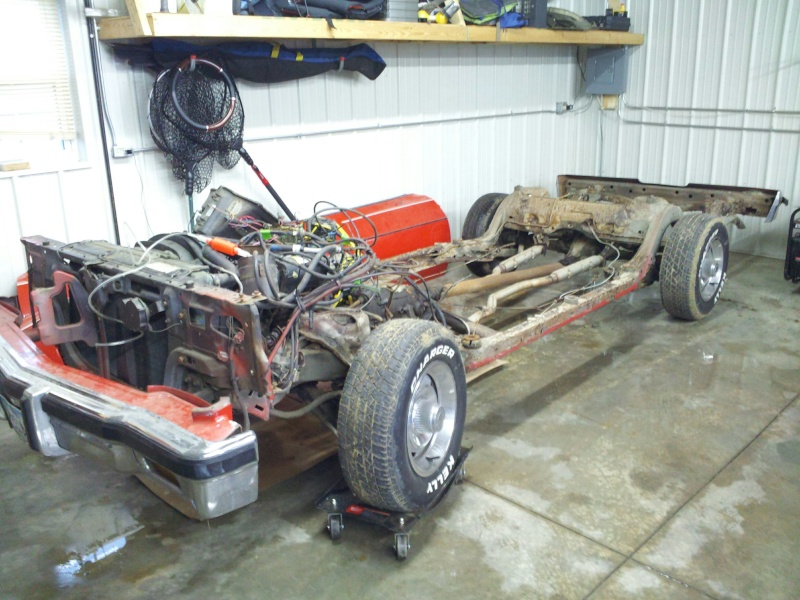
The frame was in decent shape but I had to have some new metal welded in and some washers welded where the body bushings go.
Last edited by Hawk03 on Tue Dec 03, 2013 12:27 pm; edited 1 time in total

Hawk03- G3GM Enthusiast

- Street Cred : 18
Re: Hawk03 Redo
![]() by JiMi_DRiX Mon Jul 15, 2013 10:17 pm
by JiMi_DRiX Mon Jul 15, 2013 10:17 pm

JiMi_DRiX- G3GM Enthusiast
- Street Cred : 3
Re: Hawk03 Redo
![]() by Hawk03 Tue Jul 16, 2013 9:17 am
by Hawk03 Tue Jul 16, 2013 9:17 am
https://www.g3gm.com/t7067p15-chassis-saver
(pic of top coat in last post)
Hawk03- G3GM Enthusiast
- Street Cred : 18
Re: Hawk03 Redo
![]() by Hawk03 Tue Dec 03, 2013 12:26 pm
by Hawk03 Tue Dec 03, 2013 12:26 pm

Last edited by Hawk03 on Thu Jul 02, 2015 5:17 pm; edited 1 time in total (Reason for editing : added link)
Hawk03- G3GM Enthusiast
- Street Cred : 18
Re: Hawk03 Redo
![]() by Hawk03 Tue Dec 03, 2013 12:31 pm
by Hawk03 Tue Dec 03, 2013 12:31 pm


Hawk03- G3GM Enthusiast
- Street Cred : 18
Re: Hawk03 Redo
![]() by thatfnthing Tue Dec 03, 2013 2:22 pm
by thatfnthing Tue Dec 03, 2013 2:22 pm

thatfnthing- Donating Member

- Street Cred : 65

driveit- Donating Member
- Street Cred : 15
Re: Hawk03 Redo
![]() by Hawk03 Tue Dec 03, 2013 2:57 pm
by Hawk03 Tue Dec 03, 2013 2:57 pm
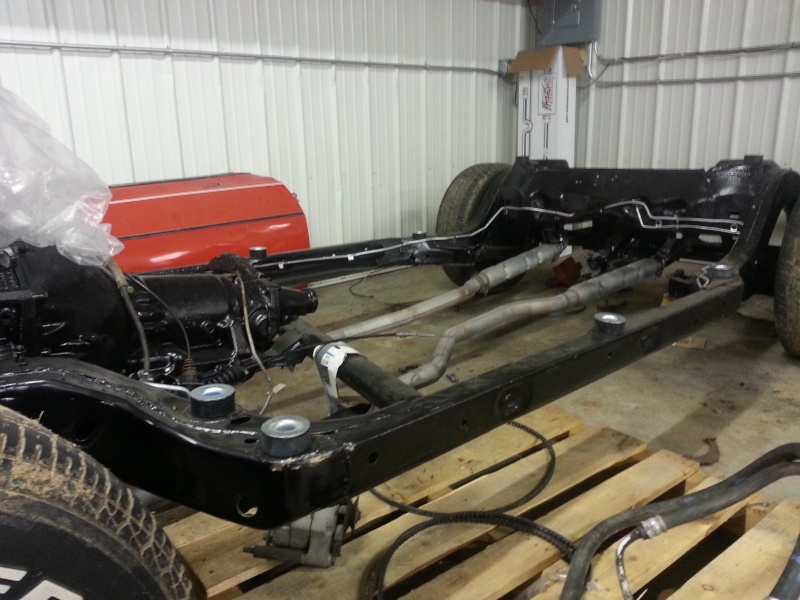
I used this kit from OPGI for the body bushings: http://www.opgi.com/chevelle/SB517K/
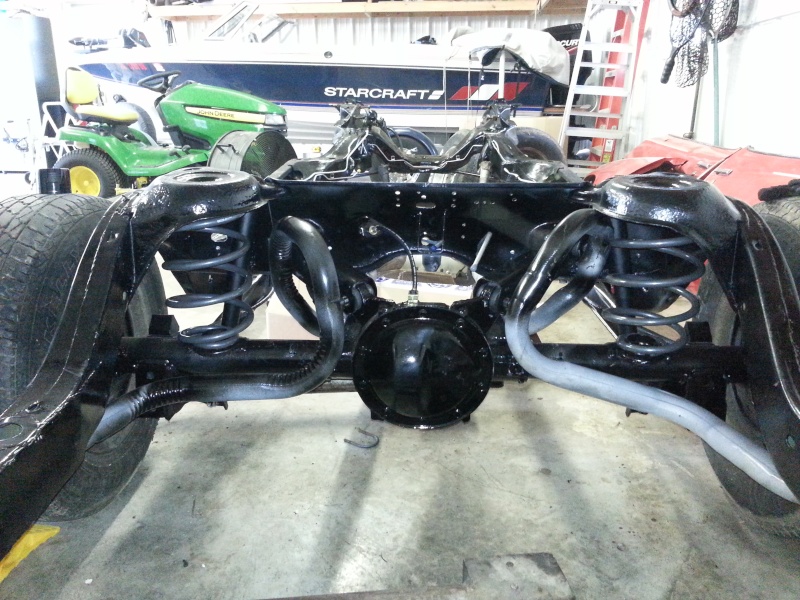
Everything fit great. The only problem is some of the bolts aren't long enough and the shortest bolt is too long in the center of the door location, I screwed it through the top! No big deal though, bolts are easy to get. I have the Belltech 2" lowering springs all around. I'm digging the rear and am anxious to see what the front will look like.
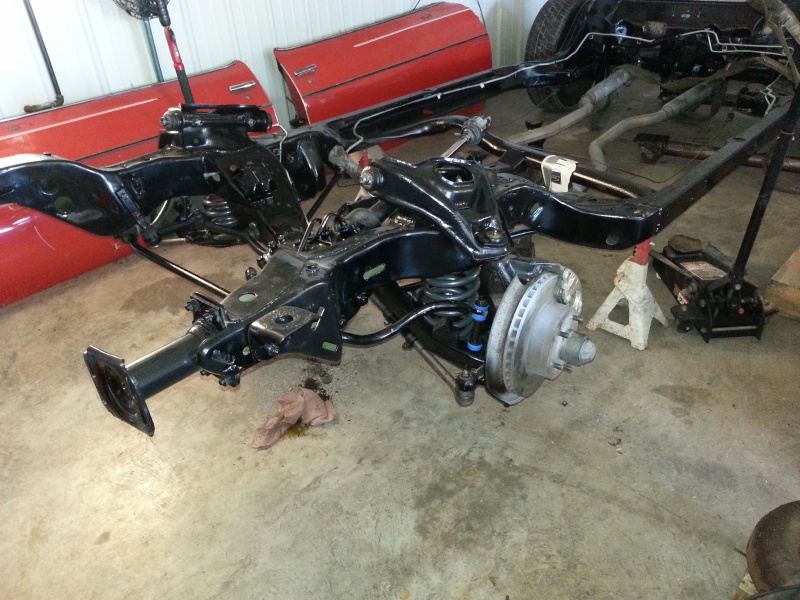
Probably won't be able to get back at it for a month or so.
Hawk03- G3GM Enthusiast
- Street Cred : 18
Re: Hawk03 Redo
![]() by driveit Tue Dec 03, 2013 4:45 pm
by driveit Tue Dec 03, 2013 4:45 pm
Hawk03 wrote:Probably won't be able to get back at it for a month or so.
driveit- Donating Member
- Street Cred : 15
1973 454 MONTE- Donating Member
- Street Cred : 36
Re: Hawk03 Redo
![]() by thatfnthing Tue Dec 03, 2013 9:02 pm
by thatfnthing Tue Dec 03, 2013 9:02 pm
Sorry, pal, you'll just have to get out there and work on your own instead of living vicariously through others.driveit wrote::(No progress pics for a month.Hawk03 wrote:Probably won't be able to get back at it for a month or so.
thatfnthing- Donating Member
- Street Cred : 65
Re: Hawk03 Redo
![]() by Brainstain Wed Dec 04, 2013 12:02 am
by Brainstain Wed Dec 04, 2013 12:02 am
Brainstain- Donating Member
- Street Cred : 8
Re: Hawk03 Redo
![]() by Hawk03 Thu Dec 05, 2013 10:51 pm
by Hawk03 Thu Dec 05, 2013 10:51 pm
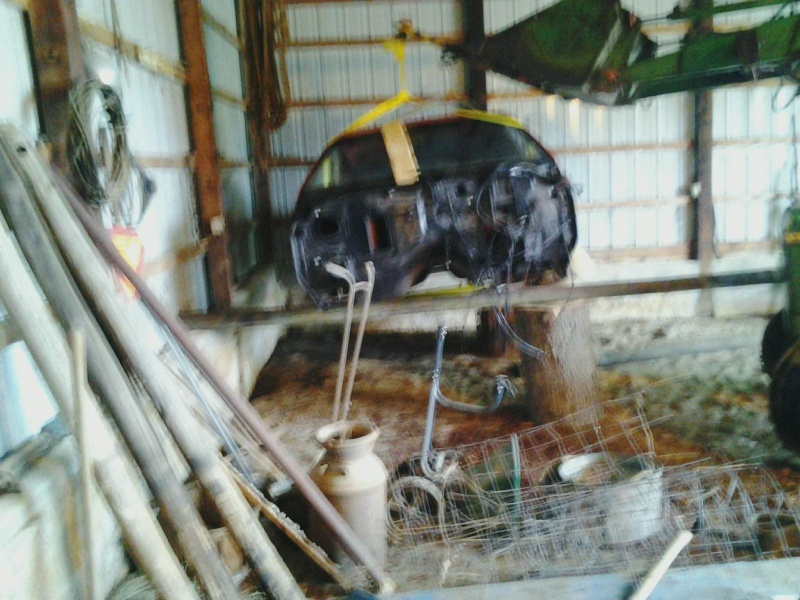
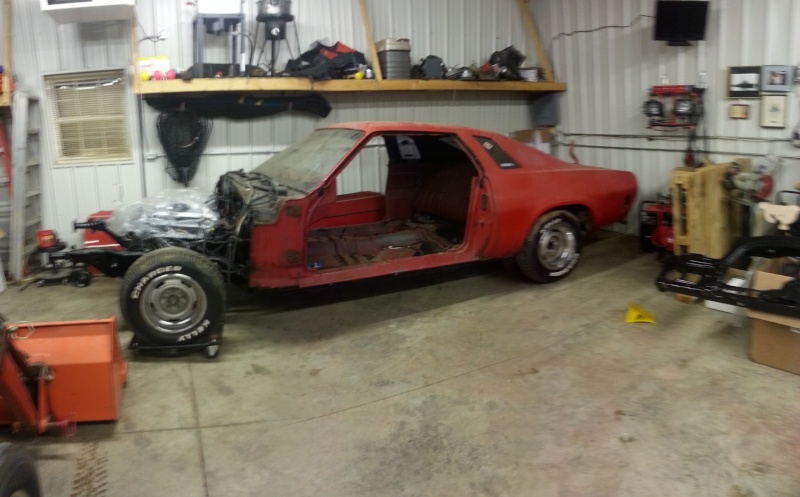
Thanks, if I wouldn't have gotten that body from you my car would be still rotting away in the barn, it was rusted through in so many places. I had to cut the body bolts out of the trunk on the new body but it wasn't and issue. Its been a fun project and I'm looking forward to working on it some more.Brainstain wrote:I really enjoy seeing something that I saved coming back to life and bringing your car back as well. Keep it up dude!
The only things that will be from my original car are the frame, seats, hood and trunk.
Hawk03- G3GM Enthusiast
- Street Cred : 18
Re: Hawk03 Redo
![]() by w451973 Fri Dec 06, 2013 7:32 pm
by w451973 Fri Dec 06, 2013 7:32 pm

w451973- G3GM Member

- Street Cred : 0
Re: Hawk03 Redo
![]() by Mcarlo77 Fri Dec 06, 2013 11:10 pm
by Mcarlo77 Fri Dec 06, 2013 11:10 pm
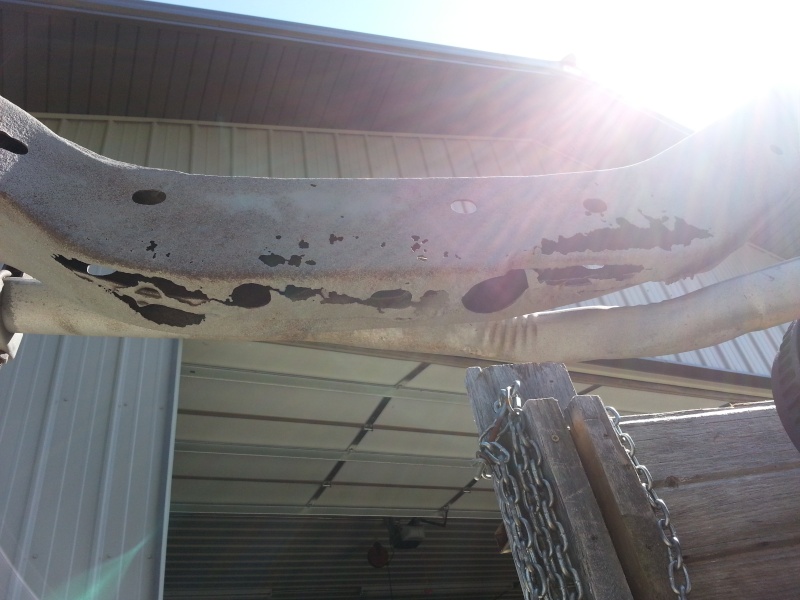
How did your rear bumper support hold up? Those are usually rusted through as well with frame rot like this.
Mcarlo77- Donating Member
- Street Cred : 77
Re: Hawk03 Redo
![]() by Hawk03 Mon Dec 09, 2013 10:45 am
by Hawk03 Mon Dec 09, 2013 10:45 am
Hawk03- G3GM Enthusiast
- Street Cred : 18
Re: Hawk03 Redo
![]() by Mcarlo77 Mon Dec 09, 2013 11:46 am
by Mcarlo77 Mon Dec 09, 2013 11:46 am
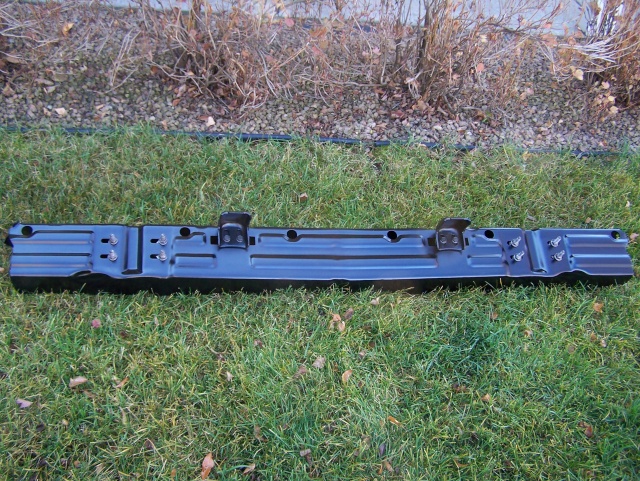
I've still got this '76 rear bumper support if you're interested. It's all ready to be installed.
Mcarlo77- Donating Member
- Street Cred : 77
Re: Hawk03 Redo
![]() by Hawk03 Tue Dec 10, 2013 10:00 am
by Hawk03 Tue Dec 10, 2013 10:00 am
Hawk03- G3GM Enthusiast
- Street Cred : 18
driveit- Donating Member
- Street Cred : 15
Mcarlo77- Donating Member
- Street Cred : 77
Re: Hawk03 Redo
![]() by Hawk03 Wed Apr 09, 2014 9:02 am
by Hawk03 Wed Apr 09, 2014 9:02 am
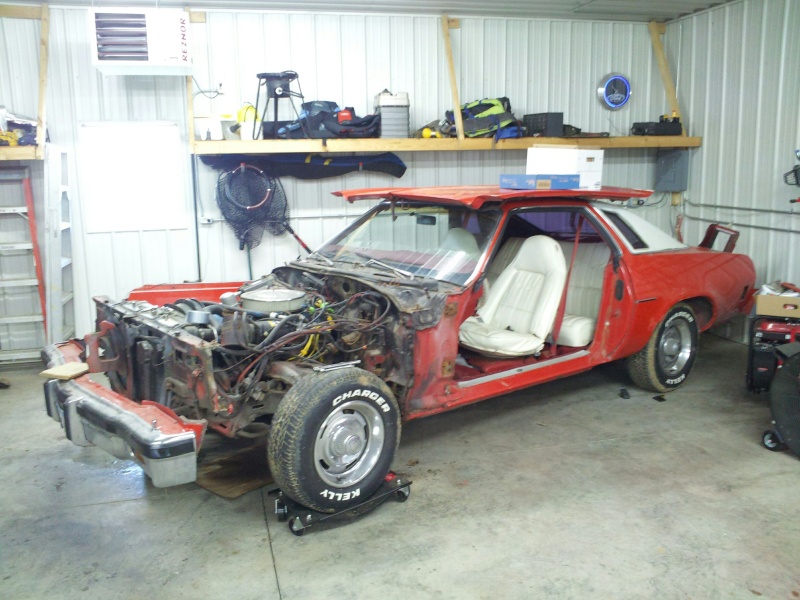
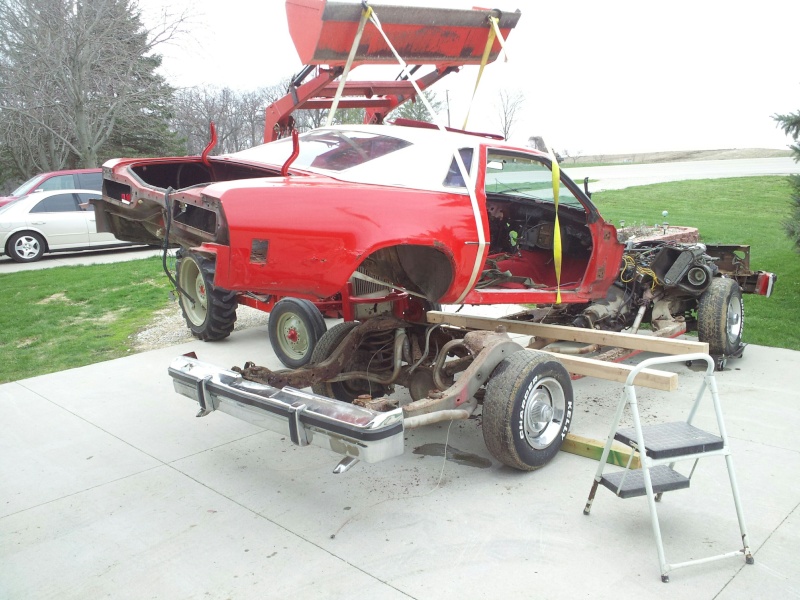
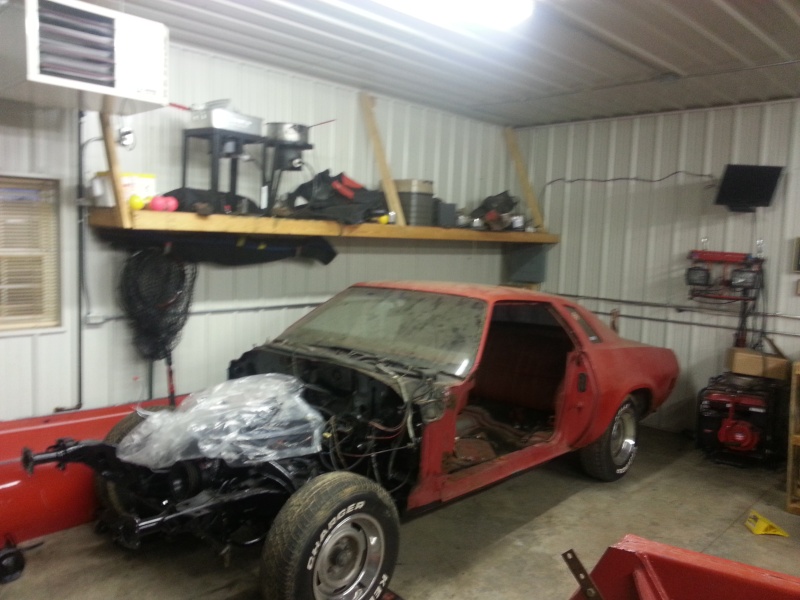
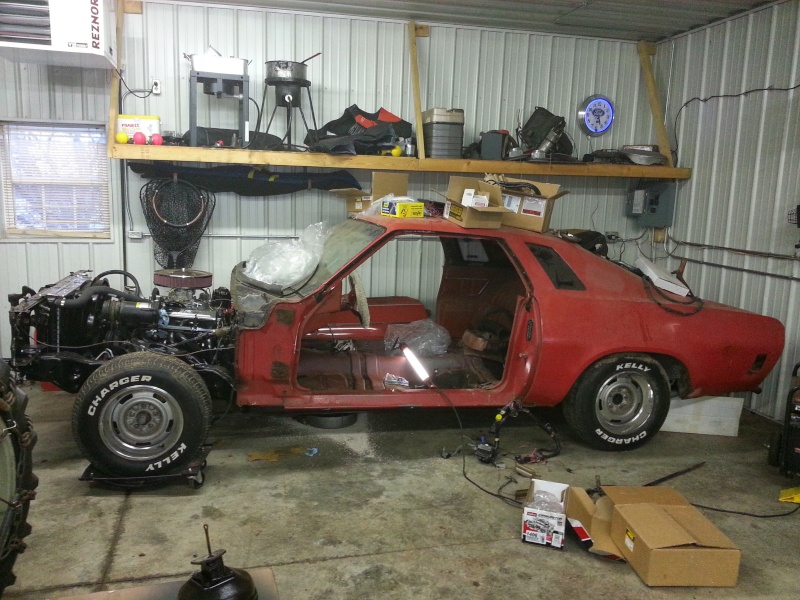
Here is out it sits now
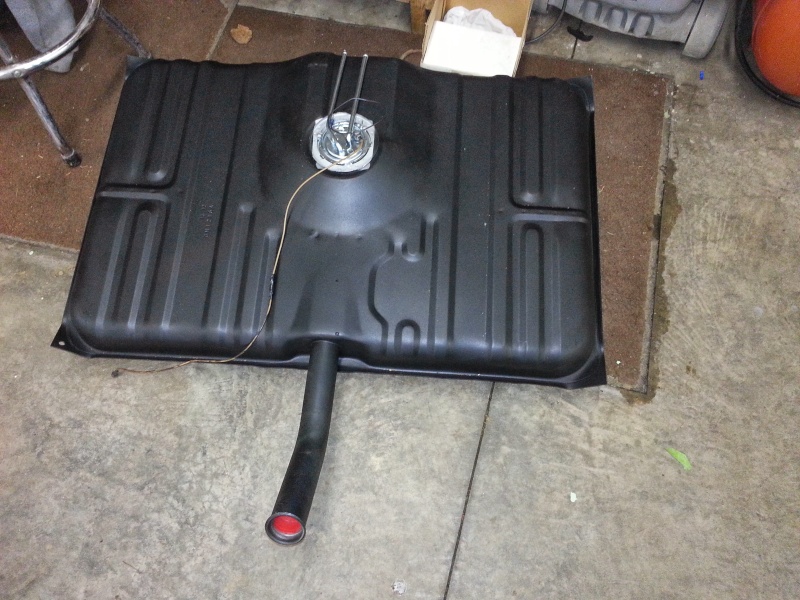
Gas tank painted with truck bed liner, turned out pretty good.
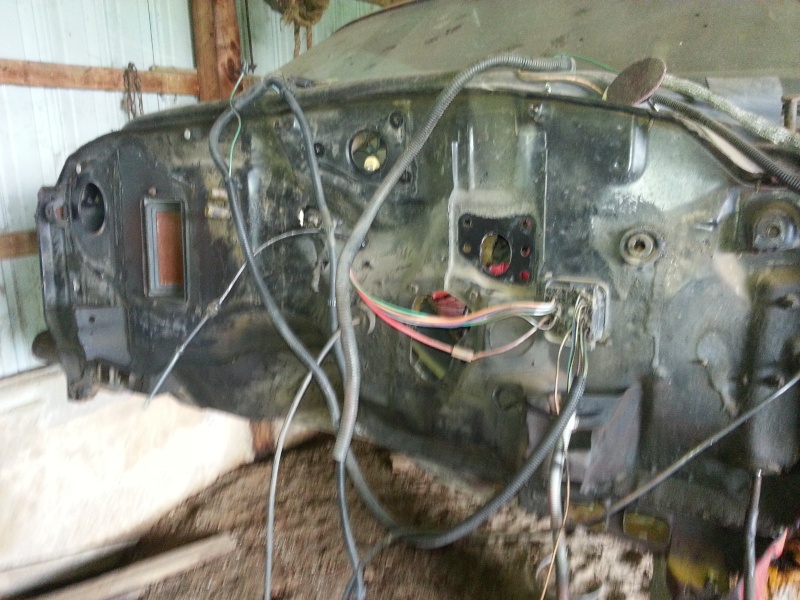
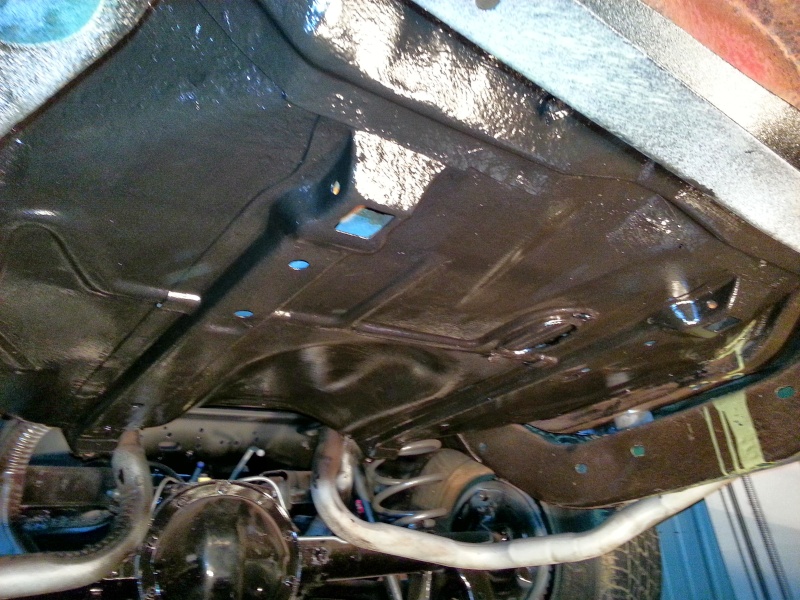
Underside of trunk prior to painting with Zerorust. Don't mind the needed touch ups on the frame, their done.
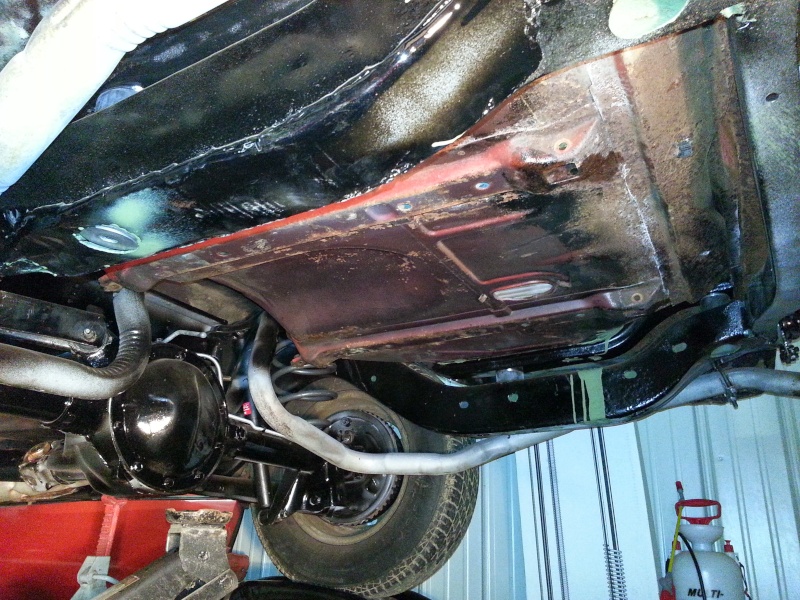
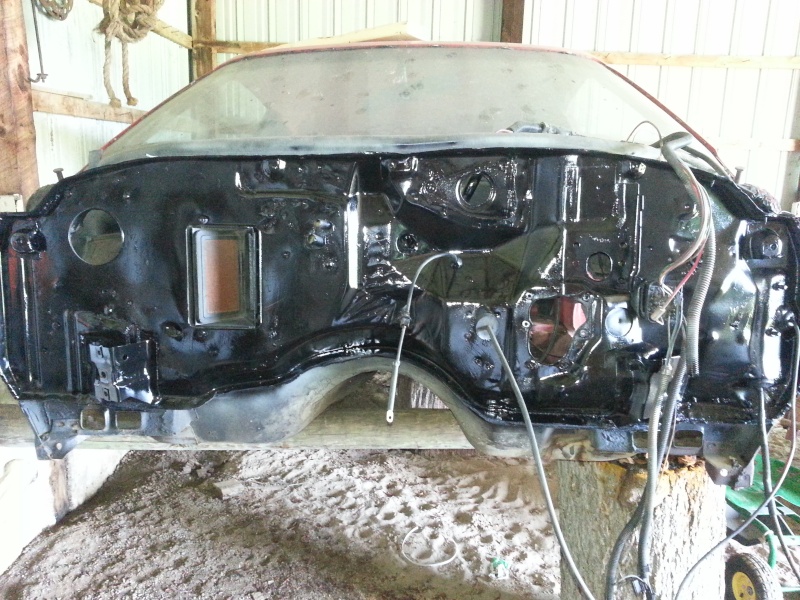
Underside of the trunk painted with Zerorust before tank install. I grinded down the underside to bare metal before painting it with Zerorust. That stuff is pretty cool, looking forward to doing the rest of the underside. I used a brush to paint it on, came out pretty good. I'll have to get some pics of the tank installed.
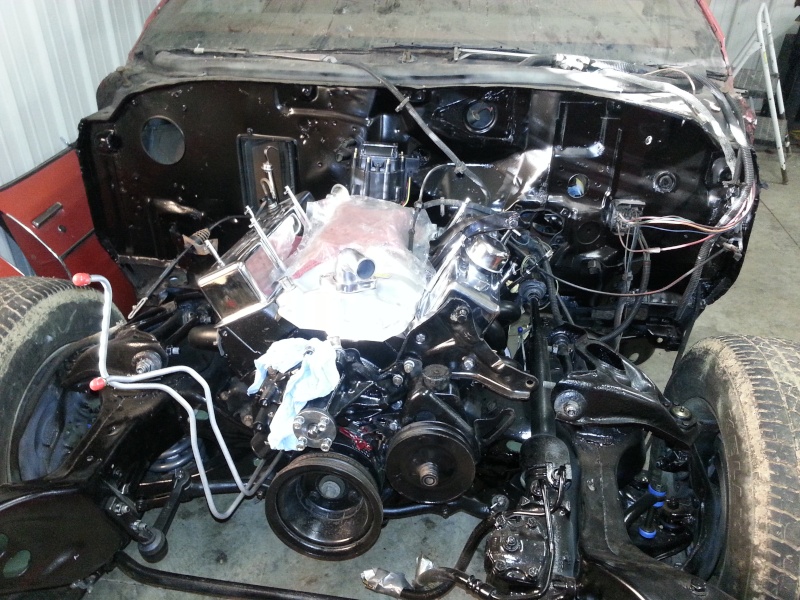
We cranked the motor over for the first time too, the timing seemed off so we held off on firing it up until we had more time to check things out.
Hawk03- G3GM Enthusiast
- Street Cred : 18
thatfnthing- Donating Member
- Street Cred : 65
Darkcalling1- G3GM Member
- Street Cred : 0

Tom77- Donating Member
- Street Cred : 9
driveit- Donating Member
- Street Cred : 15
Page 1 of 7 • 1, 2, 3, 4, 5, 6, 7 ![]()


G3GM :: Media :: G3 Project Pictures
|
|
|
» Rusty's progress Carpet Chevk now onto floor replacement
» PARTS NEED TO GO FOR OUR MOVE I DONT WANNA TAKE WITH
» Need driver side bucket seat 73 Laguna
» Laguna NOSE
» Virtual Ink from this weekend
» 1973 Chevelle SS Station Wagon
» Elcofest 2023
» Wanted drip rails for 1975 four-door Chevelle Malibu-Thanks!
» Parts please