


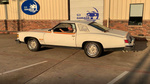
75 el camino project.
G3GM :: Media :: G3 Project Pictures
Page 5 of 11 •  1, 2, 3, 4, 5, 6 ... 9, 10, 11
 ![]()
Re: 75 el camino project.
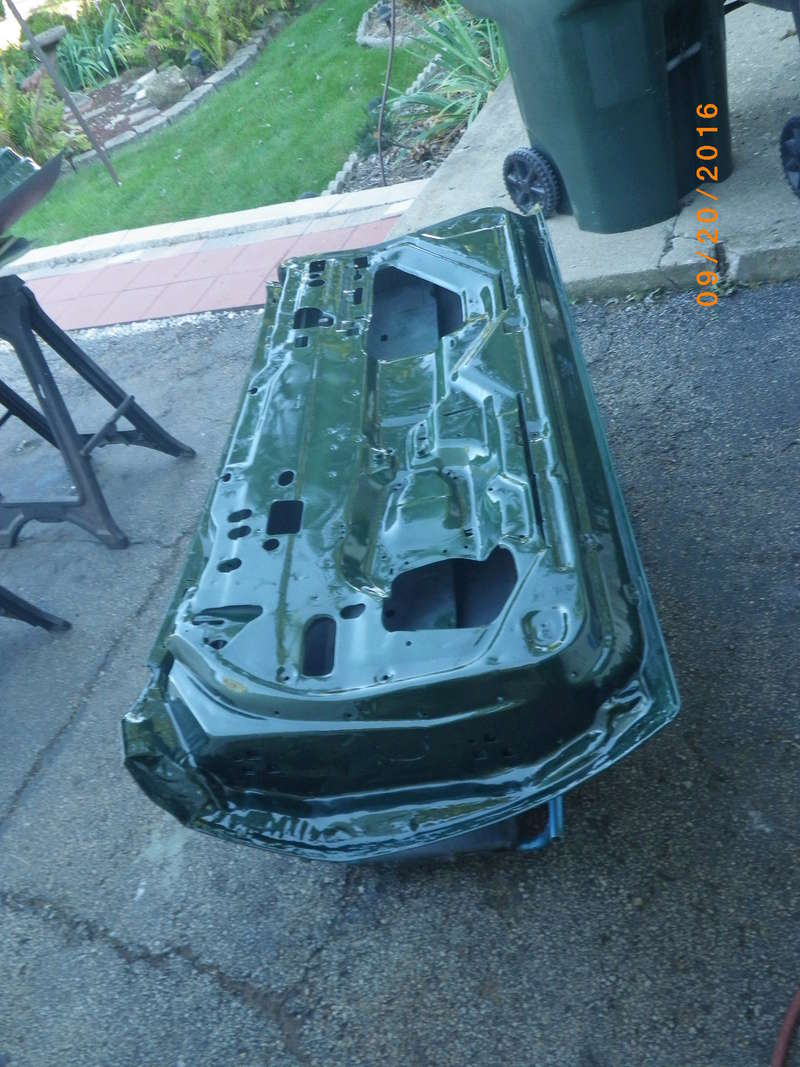
![]() by riddick75 Tue Sep 20, 2016 8:41 pm
by riddick75 Tue Sep 20, 2016 8:41 pm


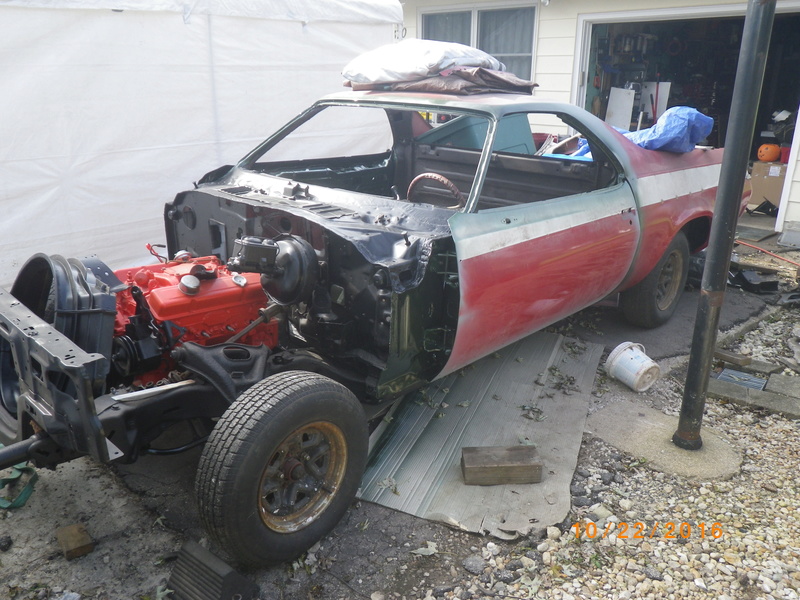
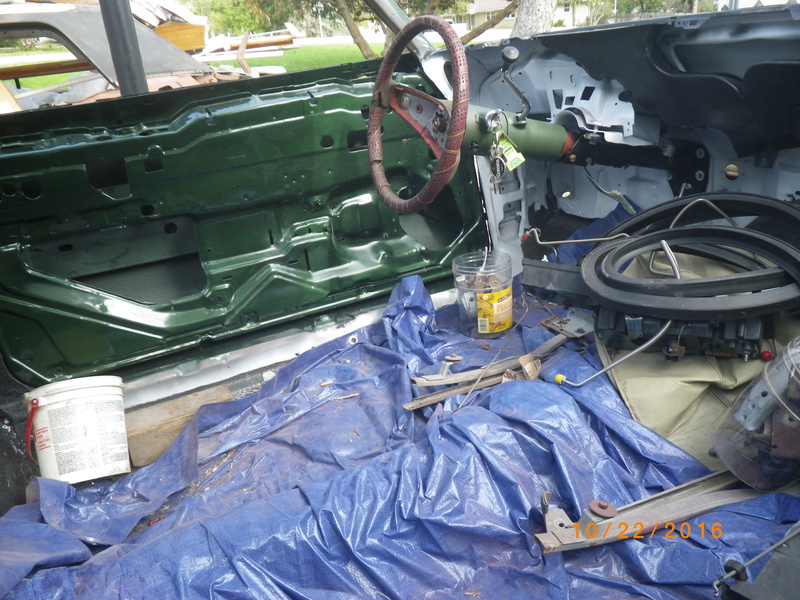
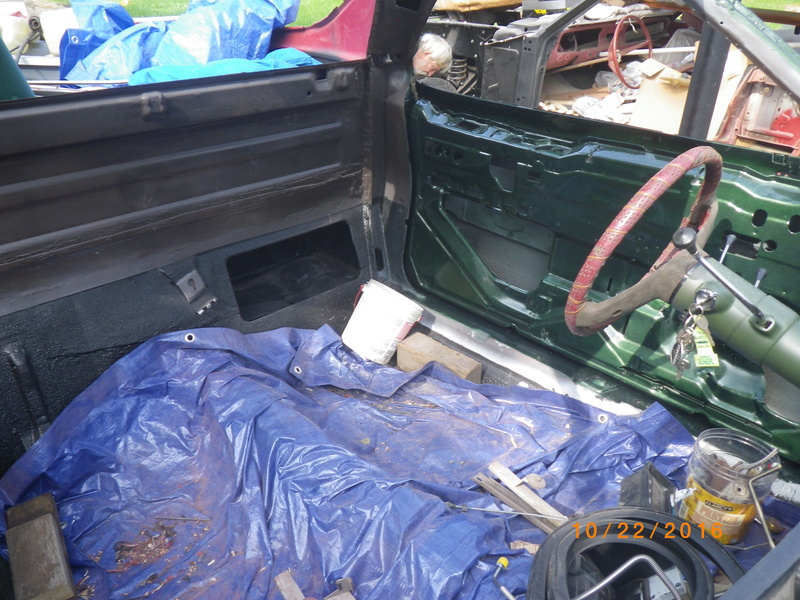
Dark Green Metallic
Dark Green Metallic


riddick75- G3GM Member

- Street Cred : 6

Hs1973- G3GM Enthusiast

- Street Cred : 14
Re: 75 el camino project.
![]() by Joe73 Wed Sep 21, 2016 2:16 pm
by Joe73 Wed Sep 21, 2016 2:16 pm

Joe73- Donating Member

- Street Cred : 83

DaveFury- G3GM Member
- Street Cred : 5
Re: 75 el camino project.
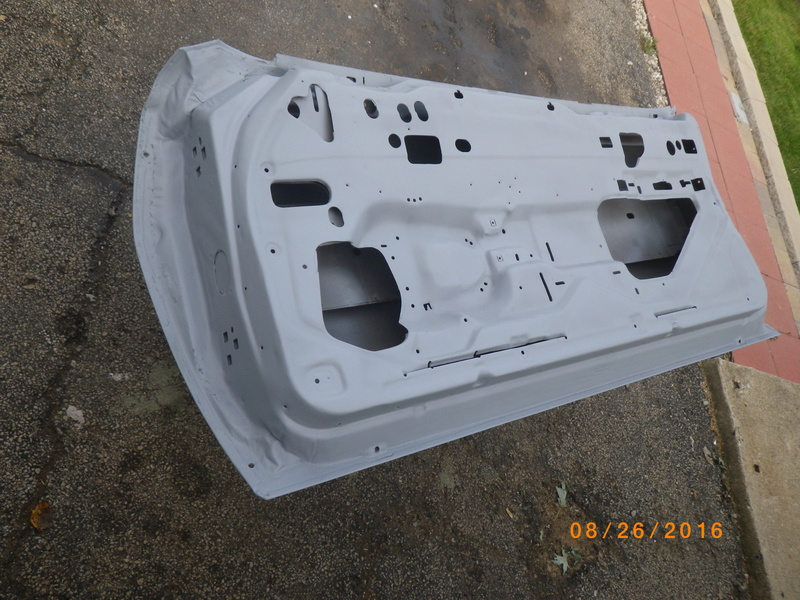
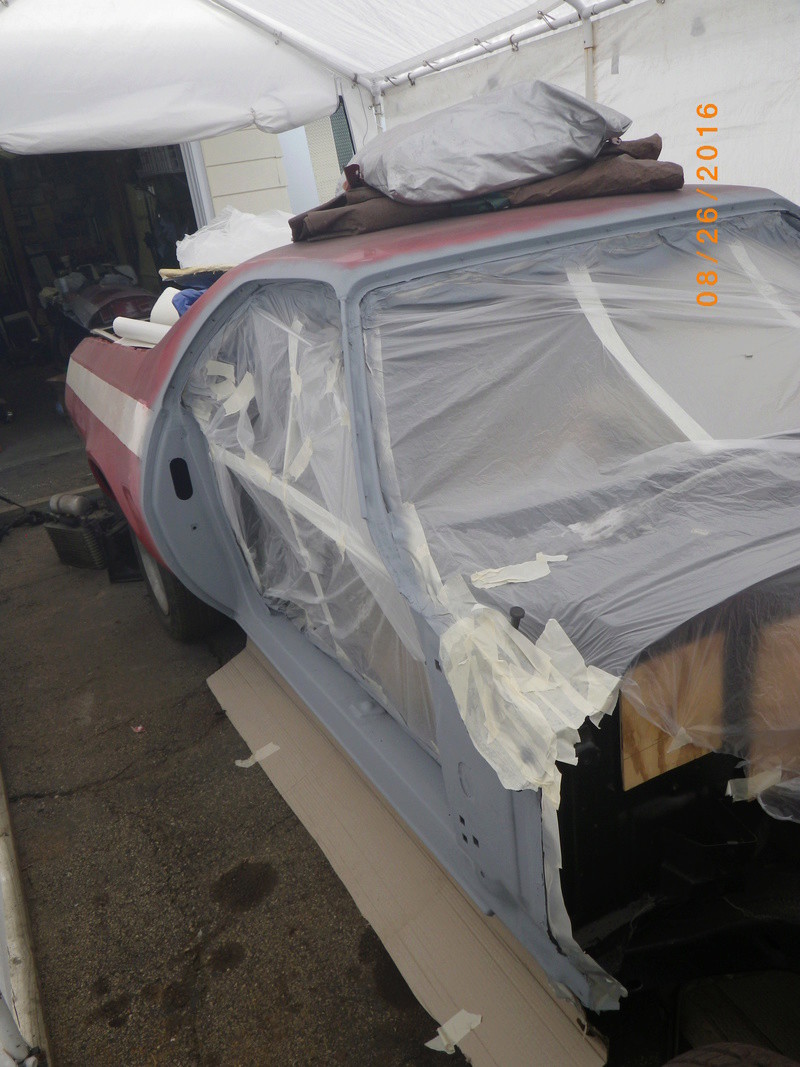
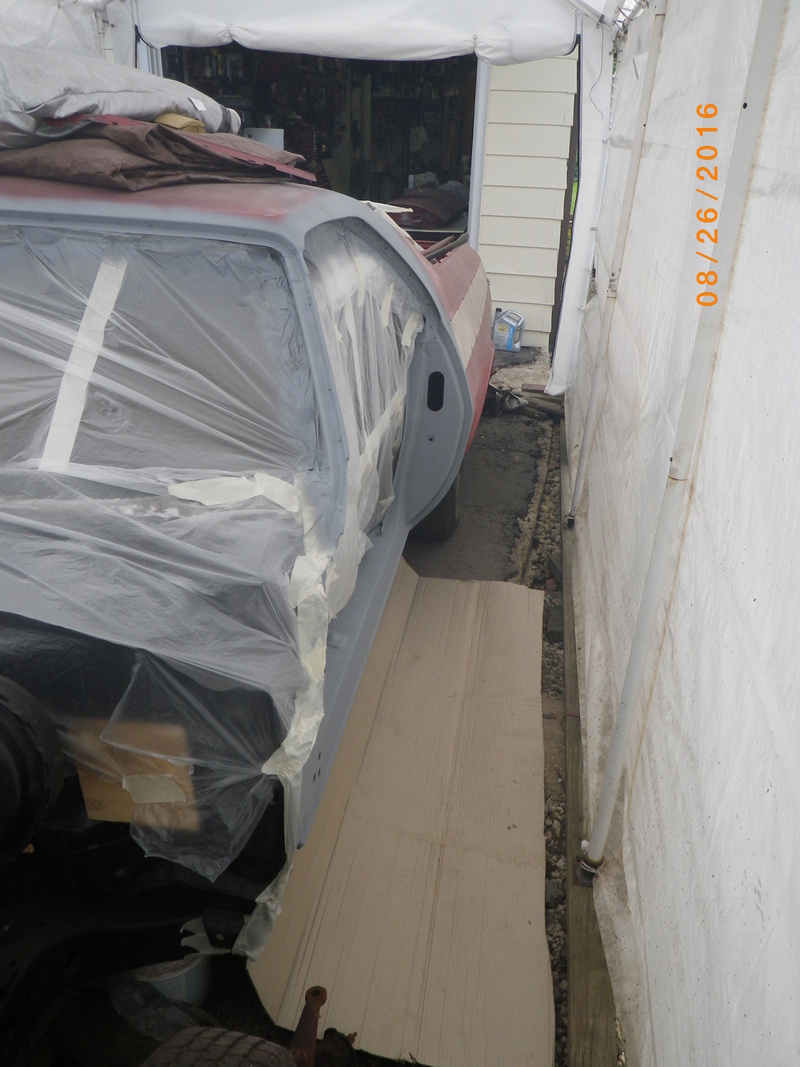
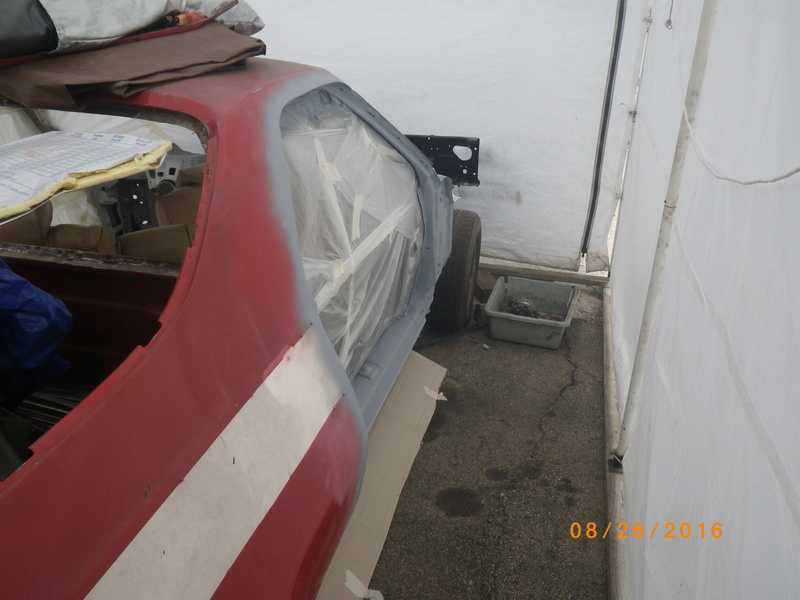
![]() by riddick75 Mon Oct 31, 2016 2:32 am
by riddick75 Mon Oct 31, 2016 2:32 am
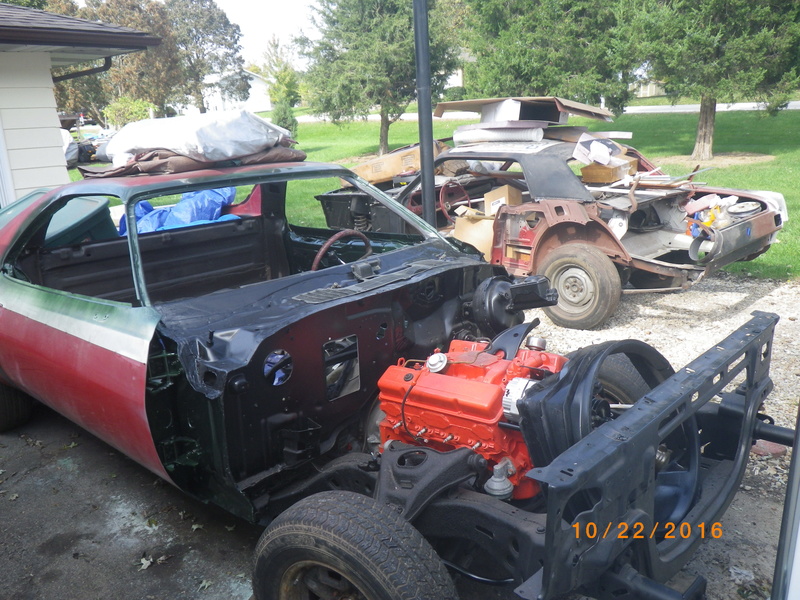
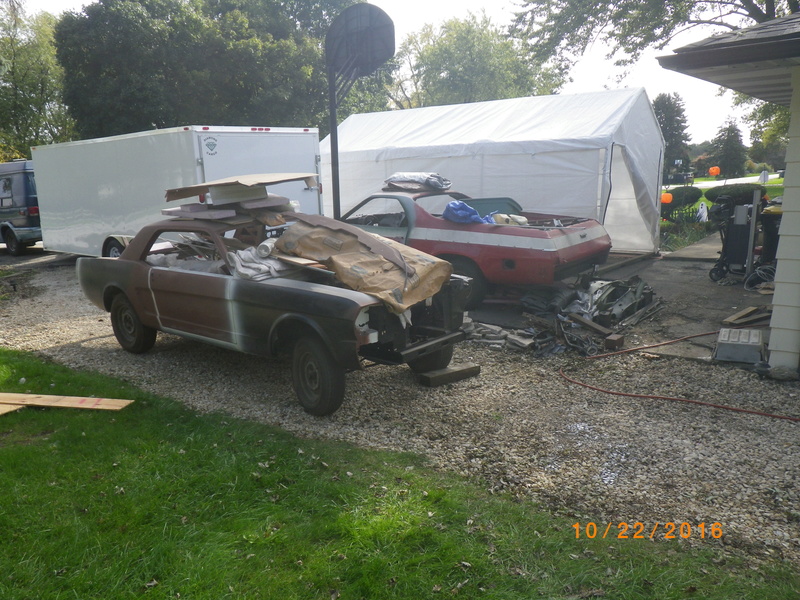
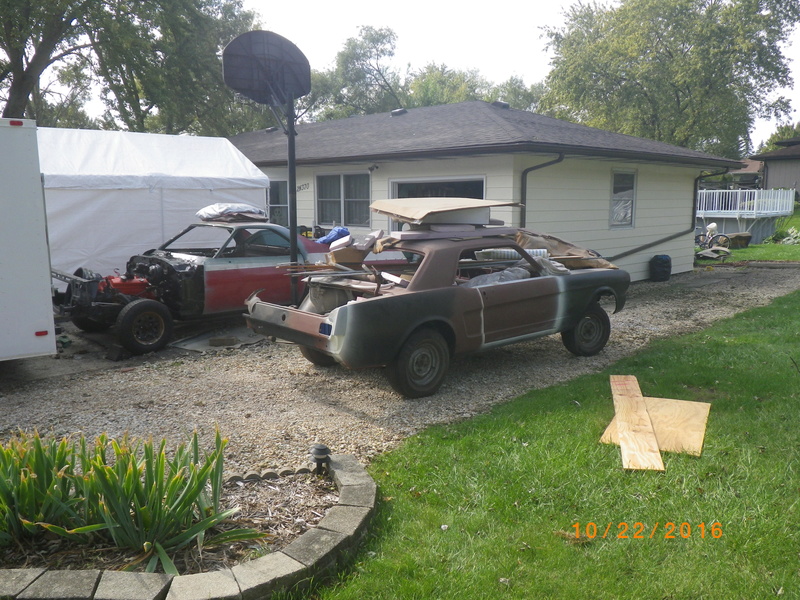
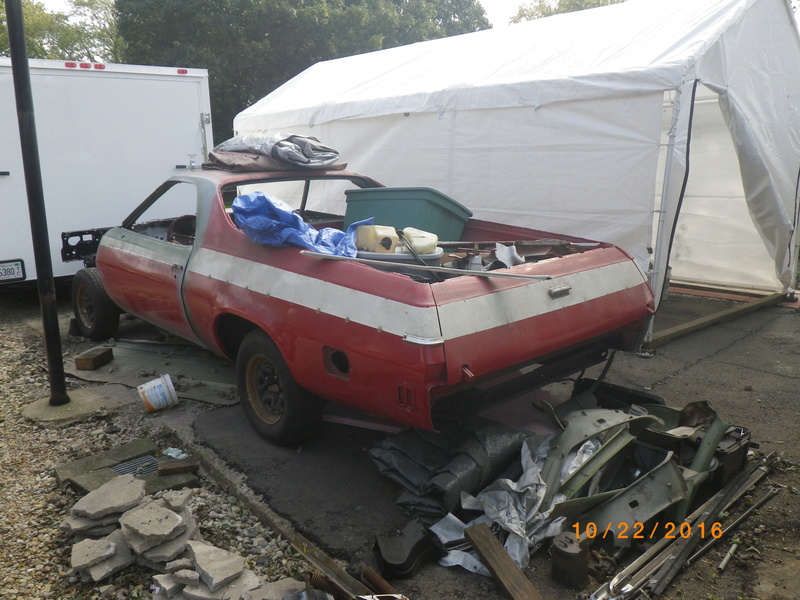
and some pictures with out the constraint of the tent in my way
riddick75- G3GM Member
- Street Cred : 6
Re: 75 el camino project.
![]() by riddick75 Thu Jun 22, 2017 8:06 pm
by riddick75 Thu Jun 22, 2017 8:06 pm
riddick75- G3GM Member
- Street Cred : 6
Re: 75 el camino project.
![]() by DaveFury Thu Jun 22, 2017 10:29 pm
by DaveFury Thu Jun 22, 2017 10:29 pm
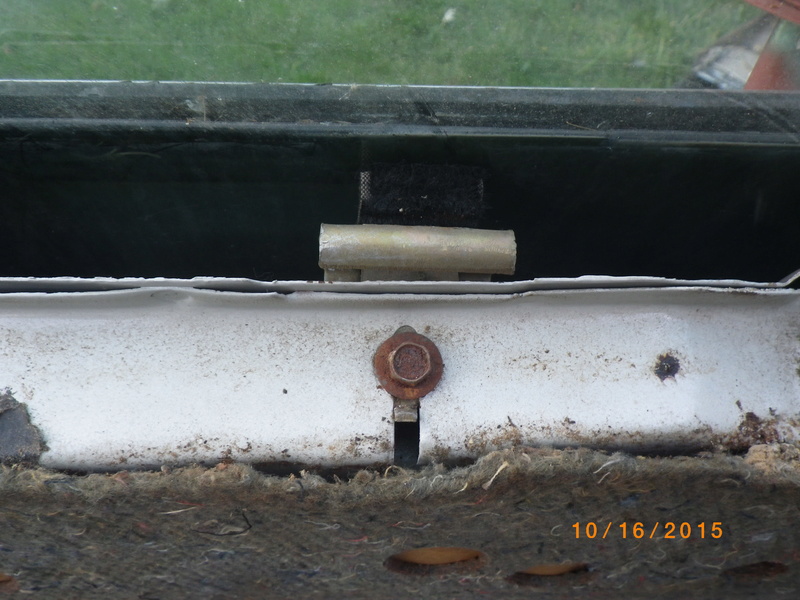
riddick75 wrote:its been a while and mostly I havent done much to it but Im putting the side windows back in for safe keeping and Im trying to find a material that would work for the guide blocks. the old suff just disintegrated off. the brackets are perftctly fine just need the felt type stuff...has anyone found a good replacement for that or even the same material?
The fuzzy side of stick on Velcro works pretty good. I used it on the window guides on my '58 Plymouth Fury 12 years ago and it's still good to go.
Dave W.
DaveFury- G3GM Member
- Street Cred : 5
Re: 75 el camino project.
![]() by riddick75 Fri Jun 23, 2017 5:31 am
by riddick75 Fri Jun 23, 2017 5:31 am
riddick75- G3GM Member
- Street Cred : 6
Re: 75 el camino project.
![]() by riddick75 Wed Mar 13, 2019 6:03 am
by riddick75 Wed Mar 13, 2019 6:03 am


Last edited by riddick75 on Mon Mar 25, 2019 6:32 pm; edited 1 time in total
riddick75- G3GM Member
- Street Cred : 6
Re: 75 el camino project.
![]() by riddick75 Wed Mar 13, 2019 6:07 am
by riddick75 Wed Mar 13, 2019 6:07 am
riddick75- G3GM Member
- Street Cred : 6

thatfnthing- Donating Member
- Street Cred : 65
Re: 75 el camino project.
![]() by riddick75 Wed May 01, 2019 4:21 pm
by riddick75 Wed May 01, 2019 4:21 pm


made my own oven box lined with aluminum foil and a turbo heater to get it to about 285 degrees, probably not hot enough but more form able


still working on finishing up the edges
riddick75- G3GM Member
- Street Cred : 6
Re: 75 el camino project.
![]() by Limey SE Wed May 01, 2019 4:35 pm
by Limey SE Wed May 01, 2019 4:35 pm
___________________________________________
1977 Chevelle SE x2
One Mild original
one Wild NON original
Anthony

Limey SE- Management

- Street Cred : 98
Re: 75 el camino project.
![]() by riddick75 Wed May 01, 2019 4:41 pm
by riddick75 Wed May 01, 2019 4:41 pm
Limey SE wrote:Riddick75 that's a great idea I have a few dash's I could do that with if you ever part with that set up LOOKS GREAT
thanks, making the hot box and the vacuum table are the easy part, but finding the vinyl to use is the hard if not impossible part, I tried looking for the material again but could not find it anywhere.
riddick75- G3GM Member
- Street Cred : 6
Re: 75 el camino project.
![]() by riddick75 Wed May 01, 2019 4:58 pm
by riddick75 Wed May 01, 2019 4:58 pm


so started with the bottom seat

one of the backrests

so if anyone has taken their front seat apart and knows where the screws go or if the back part of the lower seat is not supposed to be straight across that back when there is an armrest
but in my hubris of "it wont be that long I'll remember" I didn't take any pictures of the disassembly and can't remember where 2 screws go, I think they are on the bottom seat but I am also wondering if the seat was done wrong, where the arm rest sits I remember there being sewn in sections that jutted out to make room for the seat to pin in.

riddick75- G3GM Member
- Street Cred : 6
Re: 75 el camino project.
![]() by Hs1973 Thu May 02, 2019 11:53 am
by Hs1973 Thu May 02, 2019 11:53 am
Hs1973- G3GM Enthusiast
- Street Cred : 14
Re: 75 el camino project.
![]() by riddick75 Sun Sep 22, 2019 11:34 am
by riddick75 Sun Sep 22, 2019 11:34 am


while trying to find the emblem holes in the tailgate I found a ton of bondo.

so that took a little time to fix


riddick75- G3GM Member
- Street Cred : 6
Re: 75 el camino project.
![]() by Limey SE Sun Sep 22, 2019 11:55 am
by Limey SE Sun Sep 22, 2019 11:55 am
___________________________________________
1977 Chevelle SE x2
One Mild original
one Wild NON original
Anthony
Limey SE- Management
- Street Cred : 98
Re: 75 el camino project.
![]() by riddick75 Sun Sep 22, 2019 12:05 pm
by riddick75 Sun Sep 22, 2019 12:05 pm

fenders went well though, no surprises there at least


riddick75- G3GM Member
- Street Cred : 6
Re: 75 el camino project.
![]() by riddick75 Sun Sep 22, 2019 12:08 pm
by riddick75 Sun Sep 22, 2019 12:08 pm
Limey SE wrote:Thats a Cool Idea sir for hanging the parts to paint them and Starting to come together for ya Looks good
thanks, i figure its the best way to make sure full coverage of green. granted more tedious lol
riddick75- G3GM Member
- Street Cred : 6
Re: 75 el camino project.
![]() by Limey SE Sun Sep 22, 2019 12:10 pm
by Limey SE Sun Sep 22, 2019 12:10 pm


Wanna throw some silver on mine when Ready thats some good work Sir
___________________________________________
1977 Chevelle SE x2
One Mild original
one Wild NON original
Anthony
Limey SE- Management
- Street Cred : 98
Re: 75 el camino project.
![]() by thatfnthing Mon Sep 23, 2019 9:28 am
by thatfnthing Mon Sep 23, 2019 9:28 am
thatfnthing- Donating Member
- Street Cred : 65
Re: 75 el camino project.
![]() by riddick75 Tue Oct 01, 2019 7:30 am
by riddick75 Tue Oct 01, 2019 7:30 am
thatfnthing wrote:Looks good! I agree with Limey, pretty ingenious setup for painting panels.
thanks
riddick75- G3GM Member
- Street Cred : 6
Re: 75 el camino project.
![]() by riddick75 Tue Oct 01, 2019 7:34 am
by riddick75 Tue Oct 01, 2019 7:34 am


riddick75- G3GM Member
- Street Cred : 6
Re: 75 el camino project.
![]() by g3chevy / Mr Pontiac Tue Oct 01, 2019 12:37 pm
by g3chevy / Mr Pontiac Tue Oct 01, 2019 12:37 pm
g3chevy / Mr Pontiac- Donating Member
- Street Cred : 35
Page 5 of 11 • 1, 2, 3, 4, 5, 6 ... 9, 10, 11 ![]()

 Similar topics
» MY DAILY DRIVER/PROJECT 73 EL CAMINO SS
» Classic Car Restoration Club: 1977 El Camino Project Car-Overview
G3GM :: Media :: G3 Project Pictures
|
|
|
» Rusty's progress Carpet Chevk now onto floor replacement
» PARTS NEED TO GO FOR OUR MOVE I DONT WANNA TAKE WITH
» Need driver side bucket seat 73 Laguna
» Laguna NOSE
» Virtual Ink from this weekend
» 1973 Chevelle SS Station Wagon
» Elcofest 2023
» Wanted drip rails for 1975 four-door Chevelle Malibu-Thanks!
» Parts please